
For the Love of Lavender

I can't believe it's already time to harvest our lavender!

Lavender is one of the most pleasant smelling perennials in existence. From the mint family, this amazing plant is mostly used for essential oils or cooking. But...did you know that it has disinfecting abilities? Did you know that Lavender honey is considered a 'premium' product? Did you know that lavender repels insects? Or that it heals acne? It is soo great! And that is why we planted it in our yard years ago. Now, those of you that visit my Etsy shop know I also use our homegrown Lavender for drawer sachets. I'm proud to say that no fertilizers or pesticides are used in our garden EVER! And that is why, I can honestly dry them & place the buds in foods, sugar, and cotton sachets for our clothing drawers. It's because it's just natural & clean. So today I start my love o'lavender by sharing my drying techniques as well as making Lavender sugar:)


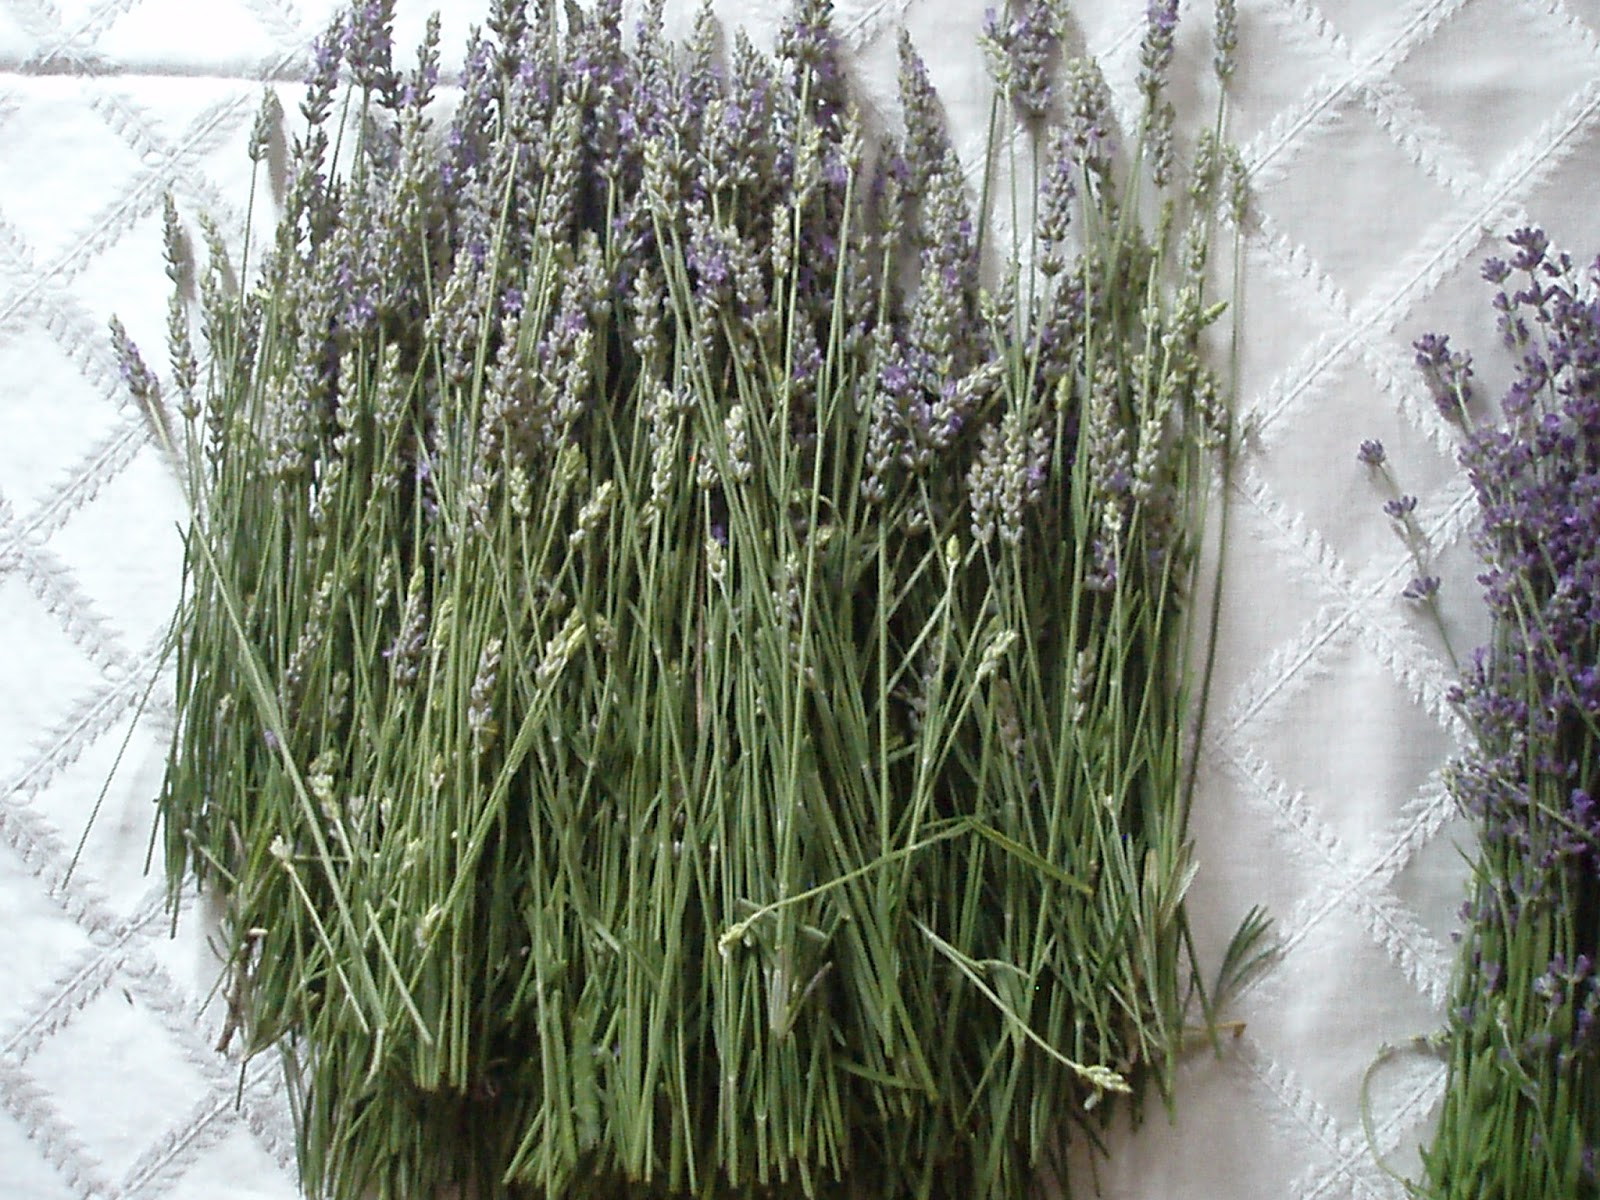
I tie my lavender in clumps smaller than the circle one of my hands can make.
If you place them in larger clumps, the center portion will not dry as fast as the surrounding. Use a soft thread or twine so that you do not snap the stems. If you tie them too tight, as they dry, they will break. Then, just hang them upside down.


I love to add the bouquets in the girls bedrooms.


And then in our nook.... Our kitchen becomes the master drying grounds. I use some string and tie it from one end of the nook to the other using the window hardware. I use clothing pins to secure the lavender to the string. The aroma is breathtaking. When I start to find buds decorating our floor, it's a sign that they're dry. I take a paper bag & place the bouquets inside. I give it a good shake until all the buds fall off. This is a great way to gather the most from your crop. You will be pleasantly surprised how many buds one lavender plant can create. Fyi....store the unused buds in the paper bag or a glass jar. Avoiding plastic is essential for prolonging bud life & scent.


And now........

~Lavender Sugar~


This sugar is wonderful in tea & as a replacement in your cookie recipes. There's a couple different ways people can make lavender sugar. We simply take a canning jar & fill it half way with the sweetness. Then, arrange the flowers throughout. I continue to add more sugar leaving about a centimeter from the top. This space allows me to mix & shake it for a couple days. After, I will remove my stems & keep my sugar. It's simple & smells wonderful.

To Happy Lavandula!

Comments

Popular posts from this blog

Crystal Knob Rack

So... what can you do with a piece of wood measuring 45 inches by 3 1/2? Well, if it's 1 inch thick, you can use it to make the cutest wall rack. But instead of using hooks, use drawer knobs!   Here's how the idea got started. I needed a place to photograph kids aprons. Now, most of you know that my girls have been modeling them, but they can't model toddler aprons, right? All I could picture was a gorgeous crystal knob rack used to display those mini aprons I love to make. And after searching in stores and online, I realized they are not very easy to find. Soo...... "oooohhh hubby.... can you drill a few holes in this piece of oak wood I found in the barn?"   Of course he did it in a heart beat & he even sanded it down too! The holes were positioned like this: I did the two outer ones first, then measured to the center in between those. And again, the middle of the center and outer one. Got it? I took some regular creamy white wall paint I had left

The Ogden Cami ~ A Review

Hello friends! I hope you all had a wonderful February and a great start to March! Spring is right around the corner and I'm counting down to daylight savings on March 10th! Hooray for longer sunshine! Lately, I've been longing to go back to stitching up clothes. And... I ended up finding the cutest pattern to get me back in the groove at Hawthorne Threads . The Ogden Cami by True Bias Patterns is perfect and quite simple! I started off by making a test run with some red, light-weight fabric, figuring if this comes out good, I'll have 2 tops! And guess what? It came out awesome! Making a practice piece was a great idea. It's always recommended and there are so many reasons why. In the instructional booklet, I wrote myself little notes.  ~ cut the fabric 1/4" larger at the sides so I can use a serger. This will allow me to have finished ends and still a good seam allowance.  ~ cut the straps 1/2" larger, so the

January.... you're almost done!

Hello friends!  I feel like it's been forever since my last post. I suppose some might even say I've been spending nearly all my time on the forefront of creative madness along with trying to continue healing. Holy smokes! Chemo and radiation will change a person forever. I'm continuing my healing journey, and staying hopeful that I'll remain in the 'clear' for a long time. It's odd, the way you feel, when everything you've gotten accustomed to: the running around, working day to day, rushing here and rushing there.... how quickly it changes when it's no longer a necessity. Yes, I am extremely thankful that my spouse supports and pushes for my healing time, omitting nurse life as it was, but like I told my girlfriend the other day, "how many craft projects can a girl possibly do?" ..... Well let me just tell you..... A LOT! Today's post will revisit some Instagram pics, (in case you don't follow along) with some of my most recent