
A November Wrap


Alright readers, here's the deal. A day of rummaging through vintage patterns has transpired into a whole new project. I was scavenging through some old patterns & pieces for a women's 50's style cape. Why? Well....for the little ones of course. I'm downsizing the patterns to fit my girls & even though I can't wait to share that project with you, there's something I gotta show you first. A November Wrap. Inspired by the vintage style of a 60's cape gone shawl, I'm pretty sure this will be a timeless, classic addition to my closet. The only thing I wish was that you could cross over the computer & feel how soft this vintage fabric really is.


I needed to added a coordinating or contrasting fabric.

 
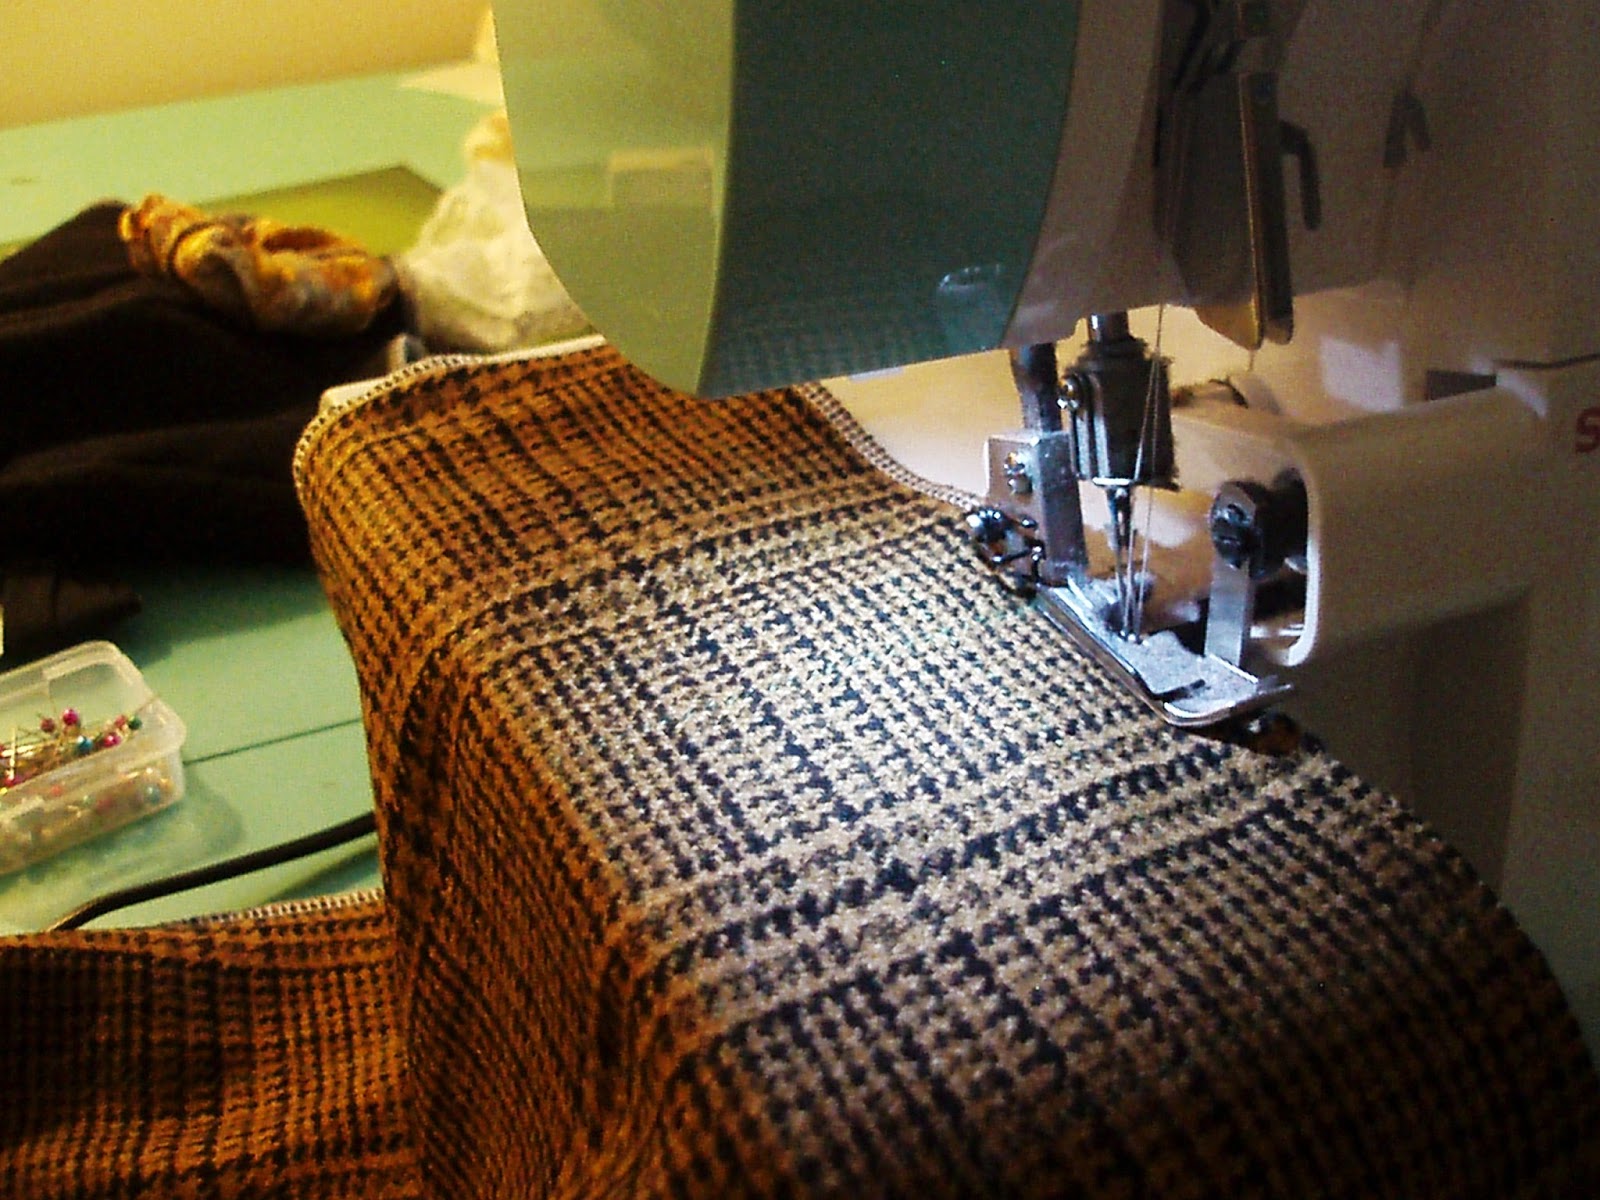
I started with a 50 by 50 inch square piece of soft, retro, wool like fabric. I folded it into a triangle, so that it made a shawl shape. (How easy is that? But, I only did it because of how light weight the plaid material is.) I serged the pieces together from the center point outward, towards the sides. Serging is not necessary. If your using a regular sewing machine, I do recommend a straight stitch to connect them & a zig-zag stitch to finish the edge so that it stops from fraying. 

 
Next, I cut two pieces of my contrasting fabric. One strip measured 50.5" by 3.5"
& the second, 54" by 3.5"

 
Start from the center point on the back and stitch your shorter strip to your shawl.

 
Repeat this step with your longer strip. Here, you can see why one strip needed to be longer.
 
 
Since the shawl/wrap is lined with the face fabric itself, your contrasting strip is what will define your inside & outside. I finished the edge by folding over the remainder material inward and did a straight stitch where the two fabrics were connected.


I gotta say, it's beautiful. 


This project was super easy, fast, & fun!
All too great not to share.
 
 
On another note, I'm debating which one of these will be in the works.
 
 
To inspiring the unexpected!
Happy Trails:) 


Comments

  1. That looks so comfy!

    http://sewscissorhappy.blogspot.com/2012/11/giveaway.html

    ReplyDelete

Post a Comment

Popular posts from this blog

Crystal Knob Rack

So... what can you do with a piece of wood measuring 45 inches by 3 1/2? Well, if it's 1 inch thick, you can use it to make the cutest wall rack. But instead of using hooks, use drawer knobs!   Here's how the idea got started. I needed a place to photograph kids aprons. Now, most of you know that my girls have been modeling them, but they can't model toddler aprons, right? All I could picture was a gorgeous crystal knob rack used to display those mini aprons I love to make. And after searching in stores and online, I realized they are not very easy to find. Soo...... "oooohhh hubby.... can you drill a few holes in this piece of oak wood I found in the barn?"   Of course he did it in a heart beat & he even sanded it down too! The holes were positioned like this: I did the two outer ones first, then measured to the center in between those. And again, the middle of the center and outer one. Got it? I took some regular creamy white wall paint I had left

The Ogden Cami ~ A Review

Hello friends! I hope you all had a wonderful February and a great start to March! Spring is right around the corner and I'm counting down to daylight savings on March 10th! Hooray for longer sunshine! Lately, I've been longing to go back to stitching up clothes. And... I ended up finding the cutest pattern to get me back in the groove at Hawthorne Threads . The Ogden Cami by True Bias Patterns is perfect and quite simple! I started off by making a test run with some red, light-weight fabric, figuring if this comes out good, I'll have 2 tops! And guess what? It came out awesome! Making a practice piece was a great idea. It's always recommended and there are so many reasons why. In the instructional booklet, I wrote myself little notes.  ~ cut the fabric 1/4" larger at the sides so I can use a serger. This will allow me to have finished ends and still a good seam allowance.  ~ cut the straps 1/2" larger, so the

January.... you're almost done!

Hello friends!  I feel like it's been forever since my last post. I suppose some might even say I've been spending nearly all my time on the forefront of creative madness along with trying to continue healing. Holy smokes! Chemo and radiation will change a person forever. I'm continuing my healing journey, and staying hopeful that I'll remain in the 'clear' for a long time. It's odd, the way you feel, when everything you've gotten accustomed to: the running around, working day to day, rushing here and rushing there.... how quickly it changes when it's no longer a necessity. Yes, I am extremely thankful that my spouse supports and pushes for my healing time, omitting nurse life as it was, but like I told my girlfriend the other day, "how many craft projects can a girl possibly do?" ..... Well let me just tell you..... A LOT! Today's post will revisit some Instagram pics, (in case you don't follow along) with some of my most recent