
A Fall Table Runner

 
Oh...thank you silly, overpriced stores for displaying that beautiful, rustic table runner on your 'fall tablescape.' It made me realize what great project potential it had.  So here we go! Take a look at this super easy project. It's guaranteed to give your table an autumn lift! 


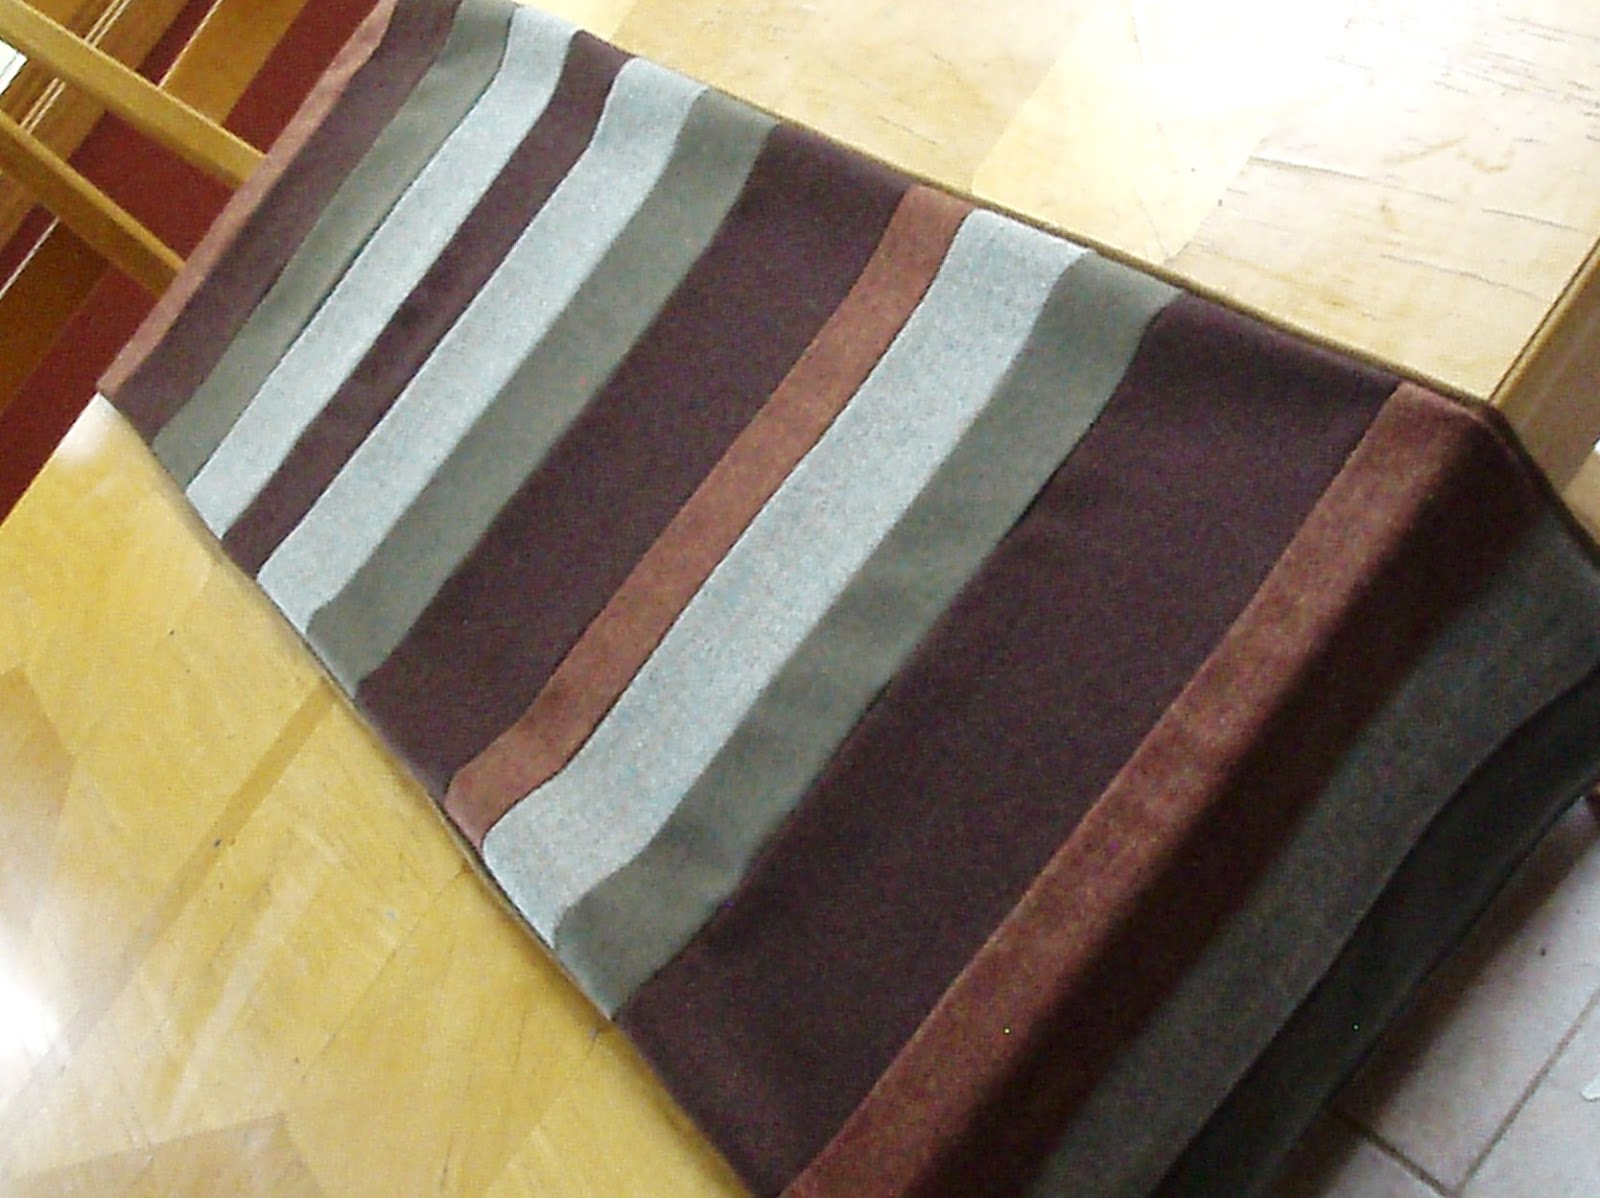
I used four coordinating fabrics. Even though they differed in color, they all had a similar tone, (which is why I think they go together so well). I cut various sized strips. They were all 19" in width & varied in length.
 
I serged them together, (the 19" sides), but you can use a regular sewing machine.
No one will see the reversed side because it will be lined.

 
Assort your colors as desired. You don't have to create a pattern. Odd placement of your color strips are more likely to make it unique & aesthetically pleasing:).....this part being the 'good tip' from the silly overpriced store...
 
Sew your strips in sections of equal weight. For example - do not keep adding to one side of the table runner unless your machine plate is flush against the desk or table. The reason.... the weight of the runner is heavier than the little strip your trying to sew & will most likely cause a curve or not so straight line. (Hence.. my use of woven medium to heavy weight fabric.)
Therefore....work in sections. So much easier & it's sure to come out perfect!
 
When you reach the length that fits your specific table, measure & cut your lining the same length.
With right sides facing eachother, sew your long sides together, (leaving your 19" sides open).
Then turn it inside out & press. Iron your ends inward. Sew a double stitch for a completed look.

 
Yup! It's that simple....  Just sewing some straight lines!

 
Here are some measurements for the curious. The completed table runner is 18" x 62".
At this size, it required less than 1/2 a yard of four fabrics.  And I had enough to make a second one.

 
Hope you enjoyed this simple & fun sewing project.
Could you imagine a super long runner on a colossal table?
Or...doing a one of kind valance for a window?
Perfect for the season!

 
To inspiration at a fraction of the cost:)


Comments

Popular posts from this blog

Crystal Knob Rack

So... what can you do with a piece of wood measuring 45 inches by 3 1/2? Well, if it's 1 inch thick, you can use it to make the cutest wall rack. But instead of using hooks, use drawer knobs!   Here's how the idea got started. I needed a place to photograph kids aprons. Now, most of you know that my girls have been modeling them, but they can't model toddler aprons, right? All I could picture was a gorgeous crystal knob rack used to display those mini aprons I love to make. And after searching in stores and online, I realized they are not very easy to find. Soo...... "oooohhh hubby.... can you drill a few holes in this piece of oak wood I found in the barn?"   Of course he did it in a heart beat & he even sanded it down too! The holes were positioned like this: I did the two outer ones first, then measured to the center in between those. And again, the middle of the center and outer one. Got it? I took some regular creamy white wall paint I had left

The Ogden Cami ~ A Review

Hello friends! I hope you all had a wonderful February and a great start to March! Spring is right around the corner and I'm counting down to daylight savings on March 10th! Hooray for longer sunshine! Lately, I've been longing to go back to stitching up clothes. And... I ended up finding the cutest pattern to get me back in the groove at Hawthorne Threads . The Ogden Cami by True Bias Patterns is perfect and quite simple! I started off by making a test run with some red, light-weight fabric, figuring if this comes out good, I'll have 2 tops! And guess what? It came out awesome! Making a practice piece was a great idea. It's always recommended and there are so many reasons why. In the instructional booklet, I wrote myself little notes.  ~ cut the fabric 1/4" larger at the sides so I can use a serger. This will allow me to have finished ends and still a good seam allowance.  ~ cut the straps 1/2" larger, so the

January.... you're almost done!

Hello friends!  I feel like it's been forever since my last post. I suppose some might even say I've been spending nearly all my time on the forefront of creative madness along with trying to continue healing. Holy smokes! Chemo and radiation will change a person forever. I'm continuing my healing journey, and staying hopeful that I'll remain in the 'clear' for a long time. It's odd, the way you feel, when everything you've gotten accustomed to: the running around, working day to day, rushing here and rushing there.... how quickly it changes when it's no longer a necessity. Yes, I am extremely thankful that my spouse supports and pushes for my healing time, omitting nurse life as it was, but like I told my girlfriend the other day, "how many craft projects can a girl possibly do?" ..... Well let me just tell you..... A LOT! Today's post will revisit some Instagram pics, (in case you don't follow along) with some of my most recent