Make headbands, of course! Today, I bring to you, not one..... but two ways to keep that hair out of your face....& fashionably!

Project #1 involves 4 pieces of knit fabric: 3 measuring 20 by 3 inches and 1 rectangular piece measuring 4 by 5. Gather/stitch the 3 long pieces together on one end and begin the braid. When you get to the bottom, straight stitch, but don't forget to decrease your stitch length on the machine. (You'll need this sewn tighter.) Connect your pieces by overlapping and sew together. Zig-zag stitches work great for reinforcing. Then, grab the 4 by 5 piece, fold the ends inward so that no rough edges are showing and wrap it around the braid. Reverse and hand stitch the rectangular piece in place so that the connecting spot doesn't show. Here are some pics!


What's great about this project? It doubles as a really cute fabric necklace. Just think what adding felt flowers could make it look like!
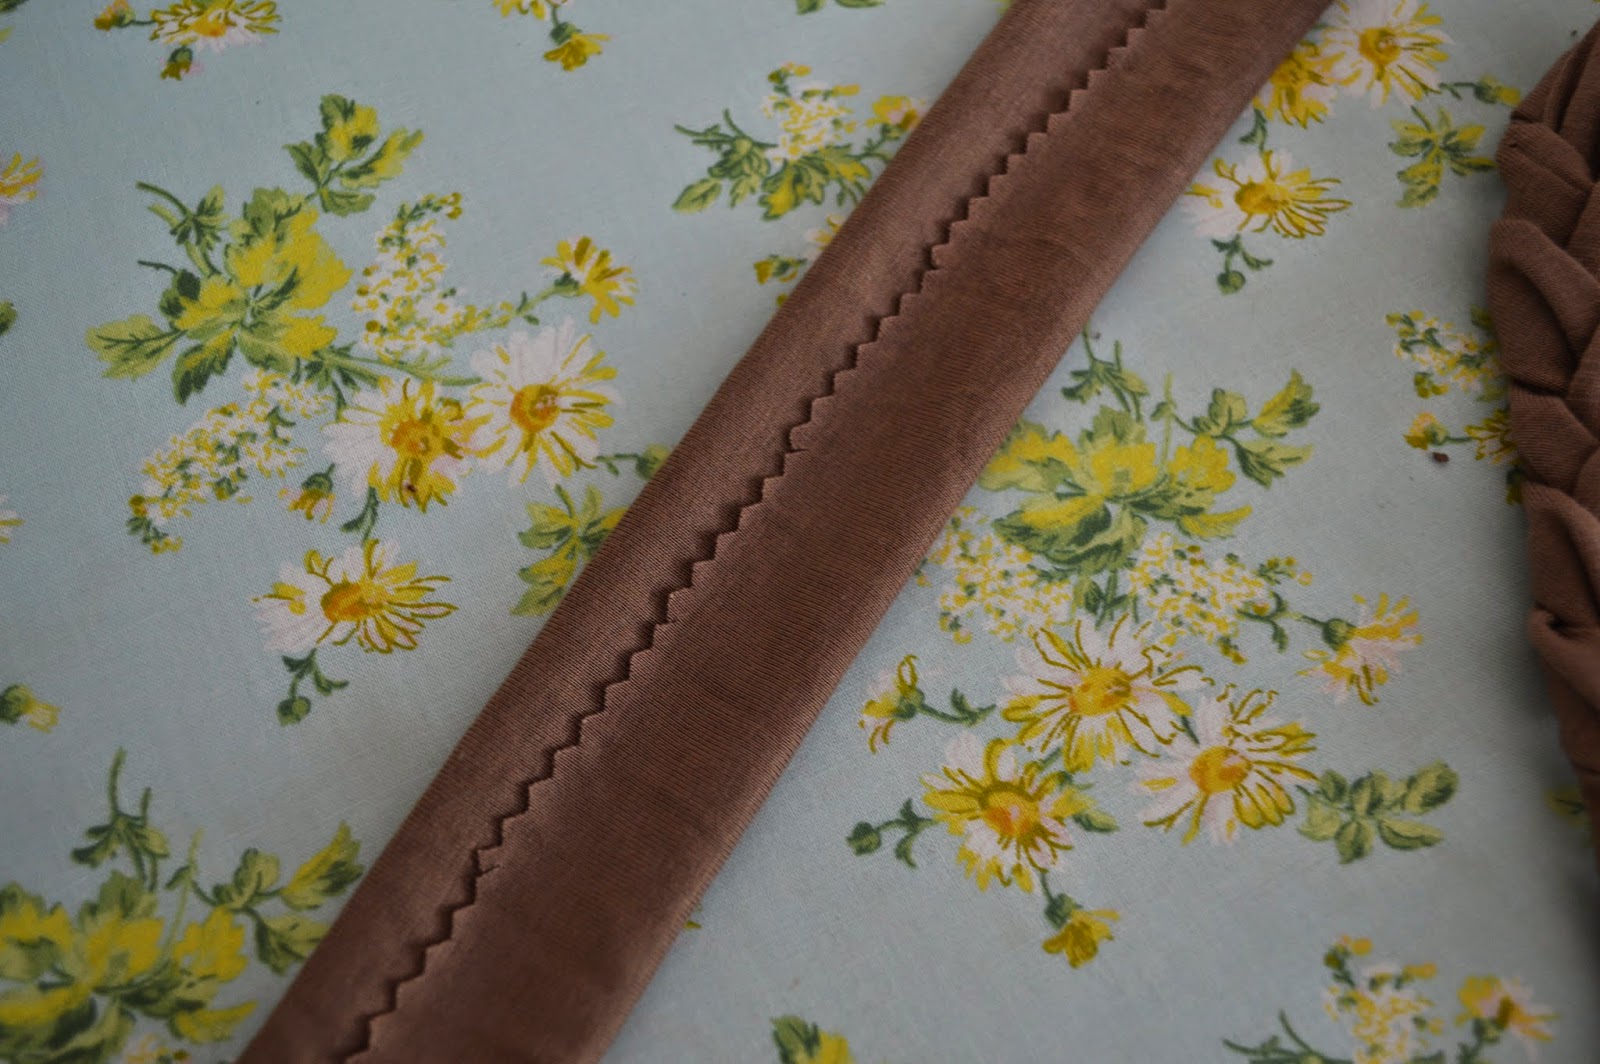
Project #2.... My favorite... Not just because it looks darling on, but it only took 15 mins!!! You only need one piece of fabric and thread. (I used contrasting thread so you can see where I stitched and where I will remove stitches.) It'll make sense in a second. Measure the fabric at 20 inches by 7 and 1/2. You can go a little wider than 7.5 but I wouldn't go less than that unless you're making it for some little ones. (Then all the numbers will need to be decreased.) Gather stitch both ends. Fold the sides inward at both ends and connect the pieces together to form the headband. Now undo the gather stitch to form some adorable ruffles. Could you believe that's it??? I love this headband! And just think.....you can totally have a matching piece for that swimsuit you'll be sporting at the pool this summer!


Project #2.... My favorite... Not just because it looks darling on, but it only took 15 mins!!! You only need one piece of fabric and thread. (I used contrasting thread so you can see where I stitched and where I will remove stitches.) It'll make sense in a second. Measure the fabric at 20 inches by 7 and 1/2. You can go a little wider than 7.5 but I wouldn't go less than that unless you're making it for some little ones. (Then all the numbers will need to be decreased.) Gather stitch both ends. Fold the sides inward at both ends and connect the pieces together to form the headband. Now undo the gather stitch to form some adorable ruffles. Could you believe that's it??? I love this headband! And just think.....you can totally have a matching piece for that swimsuit you'll be sporting at the pool this summer!
I hope you give these fun & easy projects a try! This ruffled one is going to be replicated over and over again. Shall I say, time to hit the fabric store for some more swimsuit material:)
Till next time friends!
Comments
Post a Comment