
A Festive Garland, or Two

December, how you come so quickly..... And where is all that snow?


The decorations are slowly make their way out of storage. The warm weather in Ohio has made cutting a tree down not that fun. Am I really gonna say it? We need snow! We are holding out for one, or two more weeks & praying for white. I just can't picture getting our tree without the usual fun of ice cold hands, snow packed boots, and hot chocolate on the way home. Plus, our tree must last well into the new year to celebrate our Orthodox Christmas on January 7th. By the 8th, usually the tree is parched with bristles galore decorating the floor of our family room which was held warm and cozy by a non-stop woodburning stove. So today, I'm sharing with you one of the little ways we get the spirit of things moving in the home, besides Santa's and stockings. 
Here's a project I made with my little Kindergartner. It helped practice working with scissors, tracing, and of course, aesthetics.
Take a look at our Gingerbread boy and girl garland!
 
 
We got some printables from the Internet.
Cut them out and trace onto cardstock or scrapbooking paper. I finally got to use my heirloom cardstock from K*I Memories. It's beautiful! However, it's not double sided, and that would be the best way to go.

 
I cut them out, and we made little skirts and bows for the boys and girls.


I made a small slit on the hands and joined them together with small metal brads.

 
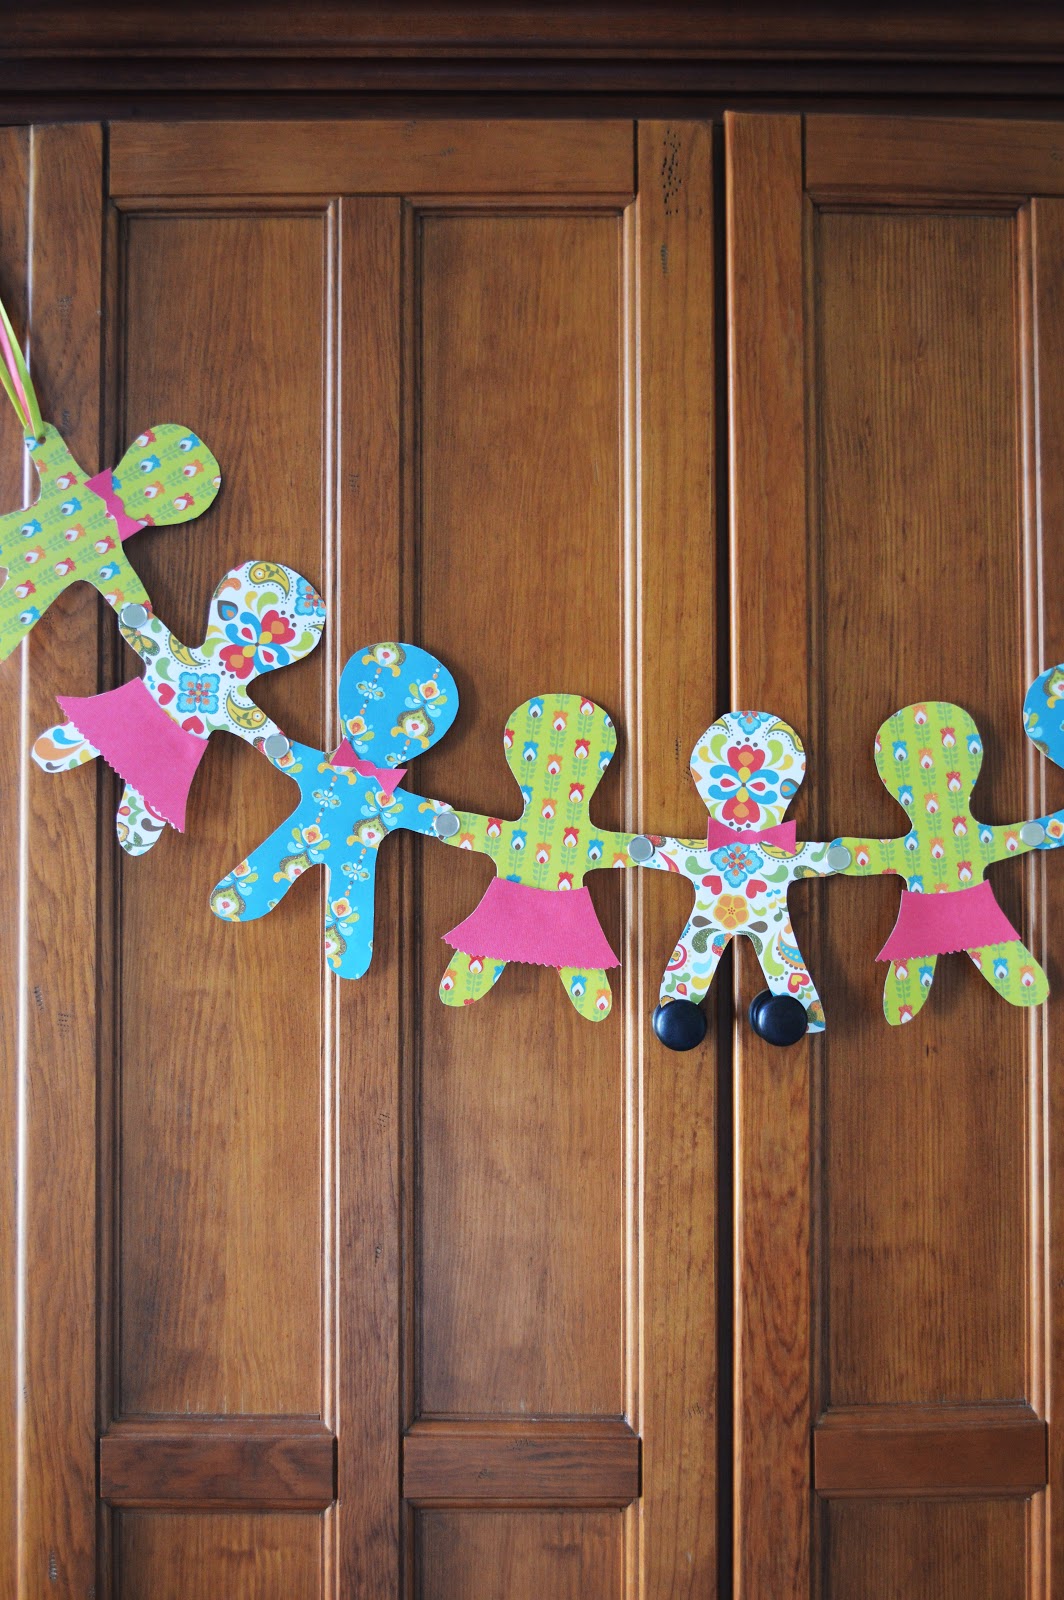
The ends were finished with a hole punch and two coordinating ribbons measuring 10inches.


This is a great project for kids with endless possibilities. Just for a thought, the bow ties could've been replaced with real ribbon ~ cut outs for eyes, hair and boots would be adorable. Our garland turned to two when we came across a star printout as well. We decided to join those together with ribbon instead of the brads. My little helper did a great job tracing and cutting stars and ribbon. This decoration is sure to last through the years.
 
Now...moving onto gingerbread cookies or muffins? You'll have to wait and see!
 
Happy Trails!


Comments

Popular posts from this blog

Crystal Knob Rack

So... what can you do with a piece of wood measuring 45 inches by 3 1/2? Well, if it's 1 inch thick, you can use it to make the cutest wall rack. But instead of using hooks, use drawer knobs!   Here's how the idea got started. I needed a place to photograph kids aprons. Now, most of you know that my girls have been modeling them, but they can't model toddler aprons, right? All I could picture was a gorgeous crystal knob rack used to display those mini aprons I love to make. And after searching in stores and online, I realized they are not very easy to find. Soo...... "oooohhh hubby.... can you drill a few holes in this piece of oak wood I found in the barn?"   Of course he did it in a heart beat & he even sanded it down too! The holes were positioned like this: I did the two outer ones first, then measured to the center in between those. And again, the middle of the center and outer one. Got it? I took some regular creamy white wall paint I had left

The Ogden Cami ~ A Review

Hello friends! I hope you all had a wonderful February and a great start to March! Spring is right around the corner and I'm counting down to daylight savings on March 10th! Hooray for longer sunshine! Lately, I've been longing to go back to stitching up clothes. And... I ended up finding the cutest pattern to get me back in the groove at Hawthorne Threads . The Ogden Cami by True Bias Patterns is perfect and quite simple! I started off by making a test run with some red, light-weight fabric, figuring if this comes out good, I'll have 2 tops! And guess what? It came out awesome! Making a practice piece was a great idea. It's always recommended and there are so many reasons why. In the instructional booklet, I wrote myself little notes.  ~ cut the fabric 1/4" larger at the sides so I can use a serger. This will allow me to have finished ends and still a good seam allowance.  ~ cut the straps 1/2" larger, so the

January.... you're almost done!

Hello friends!  I feel like it's been forever since my last post. I suppose some might even say I've been spending nearly all my time on the forefront of creative madness along with trying to continue healing. Holy smokes! Chemo and radiation will change a person forever. I'm continuing my healing journey, and staying hopeful that I'll remain in the 'clear' for a long time. It's odd, the way you feel, when everything you've gotten accustomed to: the running around, working day to day, rushing here and rushing there.... how quickly it changes when it's no longer a necessity. Yes, I am extremely thankful that my spouse supports and pushes for my healing time, omitting nurse life as it was, but like I told my girlfriend the other day, "how many craft projects can a girl possibly do?" ..... Well let me just tell you..... A LOT! Today's post will revisit some Instagram pics, (in case you don't follow along) with some of my most recent