
Who doesn't fall in love with the bath and body section of any store? I mean, even if you have no intention of making a purchase from that section, you will always find yourself sniffing about all those lovely fragrances.
And what's the most notorious smell for summer....the rose!
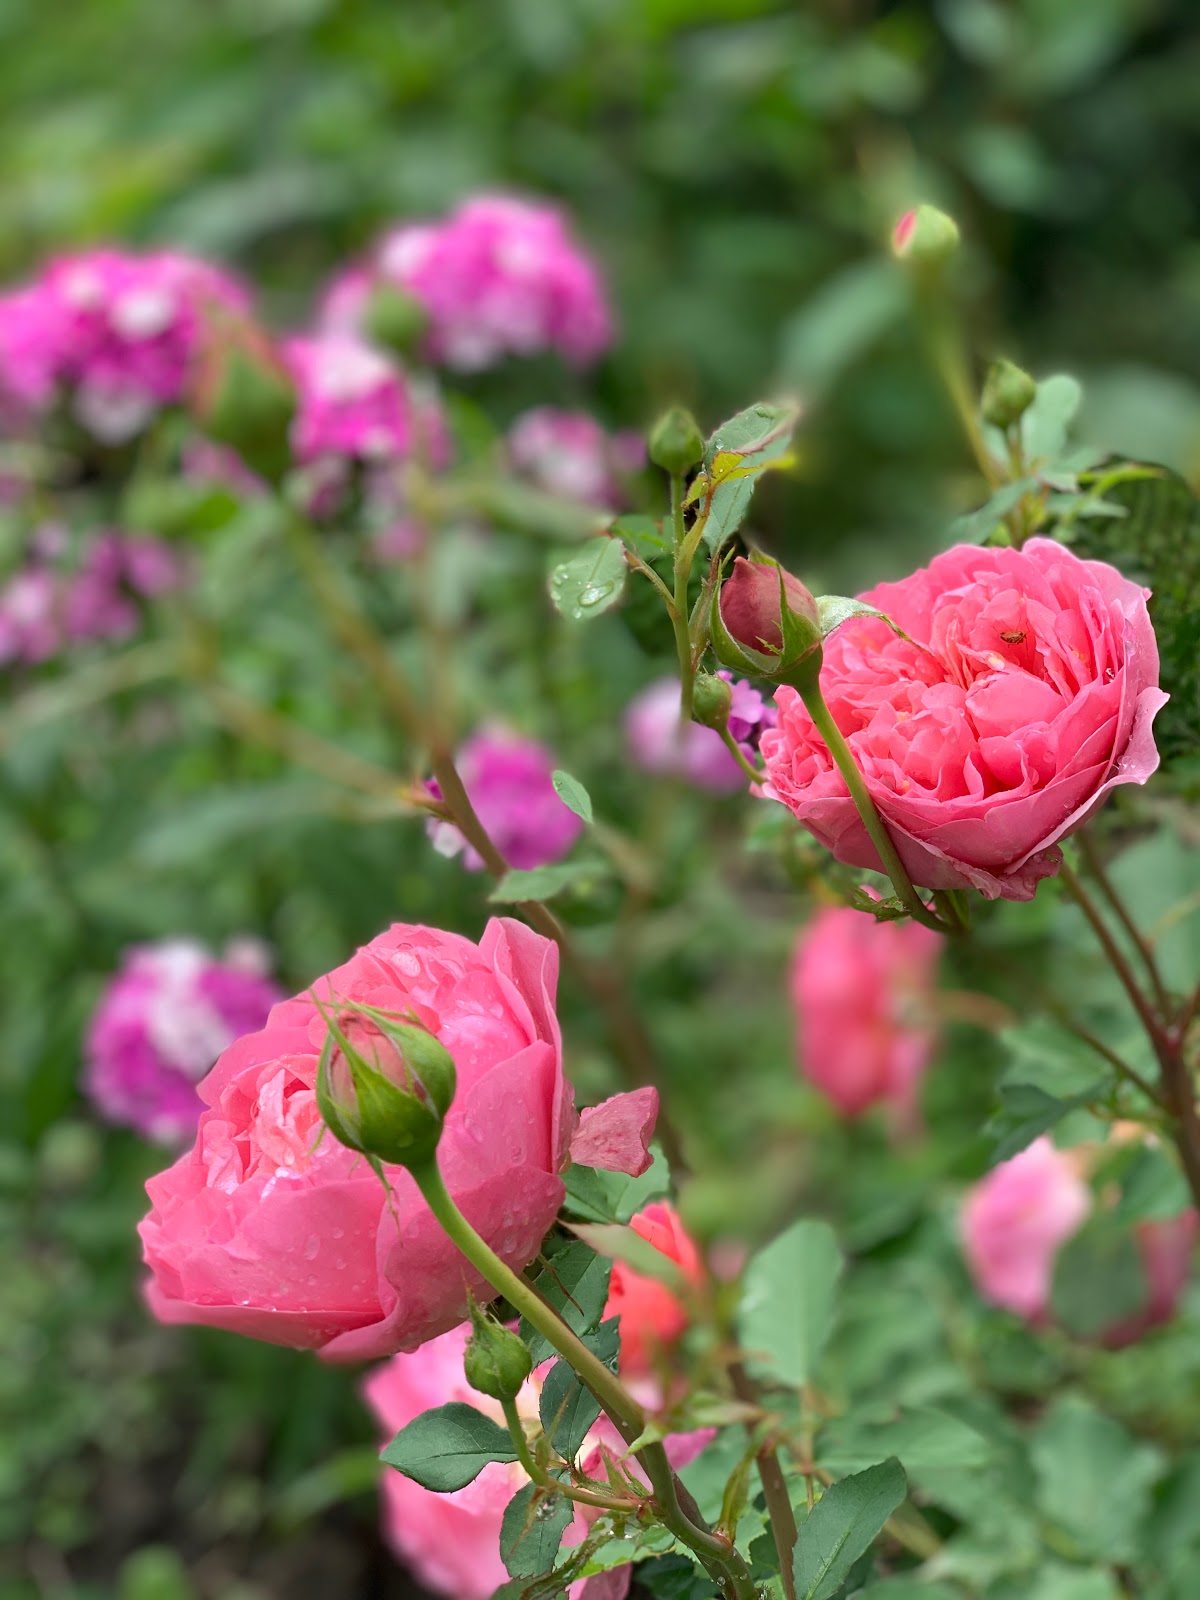
I love roses so much and find myself continually picking and taking pics of all the roses we grow. I try breaking off the stems and restarting new plants. Sometimes it works and sometimes it doesn't.
But the most hardy rose to grow, similarly comparable to 'weed' strength is the classic fuschia pink tea rose. In previous posts, like one here..http://mintneedle.blogspot.com/2012/05/.... you can even find a recipe on how to make rose tea jam & syrup!
So... for today, we're heading the spa route and we're going to make the simplest rose
petal bath salts perfect for those late evening soaks!
What you'll need:
Rose petals....dried
a coffee grinder
mask for your nose - you can also use a scarf
bowl
epsom salts
spoon
baking soda
jar for storing your concoction
& any other herbs you indulge in!
For drying the petals, I usually pick early in the a.m. on dry sunny days. Detach all the petals from the stem and lay them out on clean tablecloths or rolled paper towels. I leave them out on my dining table and it usually takes 2 weeks to completely dry, at times a little less if I have the windows open. FYI... I do not wash my petals because I only pick the nice clean ones. Do not pick any buds off the ground.
After the petals have dried, grab your mask and place it on your face. Blend the petals in the coffee grinder to a fine powder. Be careful when you open it up because the dust will be so fine that it will float into the air...hence the mask. You shouldn't be breathing it in.
Grab your bowl place 2 cups of epsom salts in the bowl
4 heaping teaspoons of your powdered rose petals
and add 2 teaspoons of baking soda.
Mix it all up with a spoon.
(And for those wondering why baking soda? Baking soda is perfect for itchy skin and fungal infection. It neutralizes, soothes, and detoxifies the skin cells.)


If you use classic tea roses, I guarantee you will not need any essential oils added.
This bath salt mix smells so strong on the roses that you might even be surprised.
The rose powder will even turn your water a pinkish purple!

Store your salt in a cute bottle and gift them or keep them for yourself!
How simple was that?!?


And how cute are those bottles?
On another note......
Just a little update on the health for those curious, I'm hanging in there. On good days, I try to craft and stay busy with simple projects like the one above. My body is tired but I'll keep fighting. I have only a few more treatments ahead, but the chemo is getting harder and harder, (more so than the radiation).
I know I will never be the same, but I can't tell you how much i'm looking forward to getting back to a norm.
Thanks for stopping by!
Happy Trails to all the pretty roses!
Comments
Post a Comment