
Winter Solstice


Hello dear friends! Before we say goodbye to 2017, I wanted to do a little post on my latest project. 
Making table runners like the one below! At first, you'd think it's a complex piece. Right? Not at all! This was one of the quickest 'sews' I've ever done and I'm so excited about it, I just had to share!


The best thing to use are fat quarters for this projects.

You will need to cut 12 - 3 inch squares of fabric choice #1, 
and 12 - 3 inch squares of  fabric choice #2

Cut 12 - 3 x 5 1/2 inch rectangles of fabric choice #3
Cut 12 - 3 x 5 1/2 inch rectangles of fabric choice #4

Draw a diagonal on your 24 three inch squares. Line them up on one side of your rectangle fabric and stitch on the drawn line.


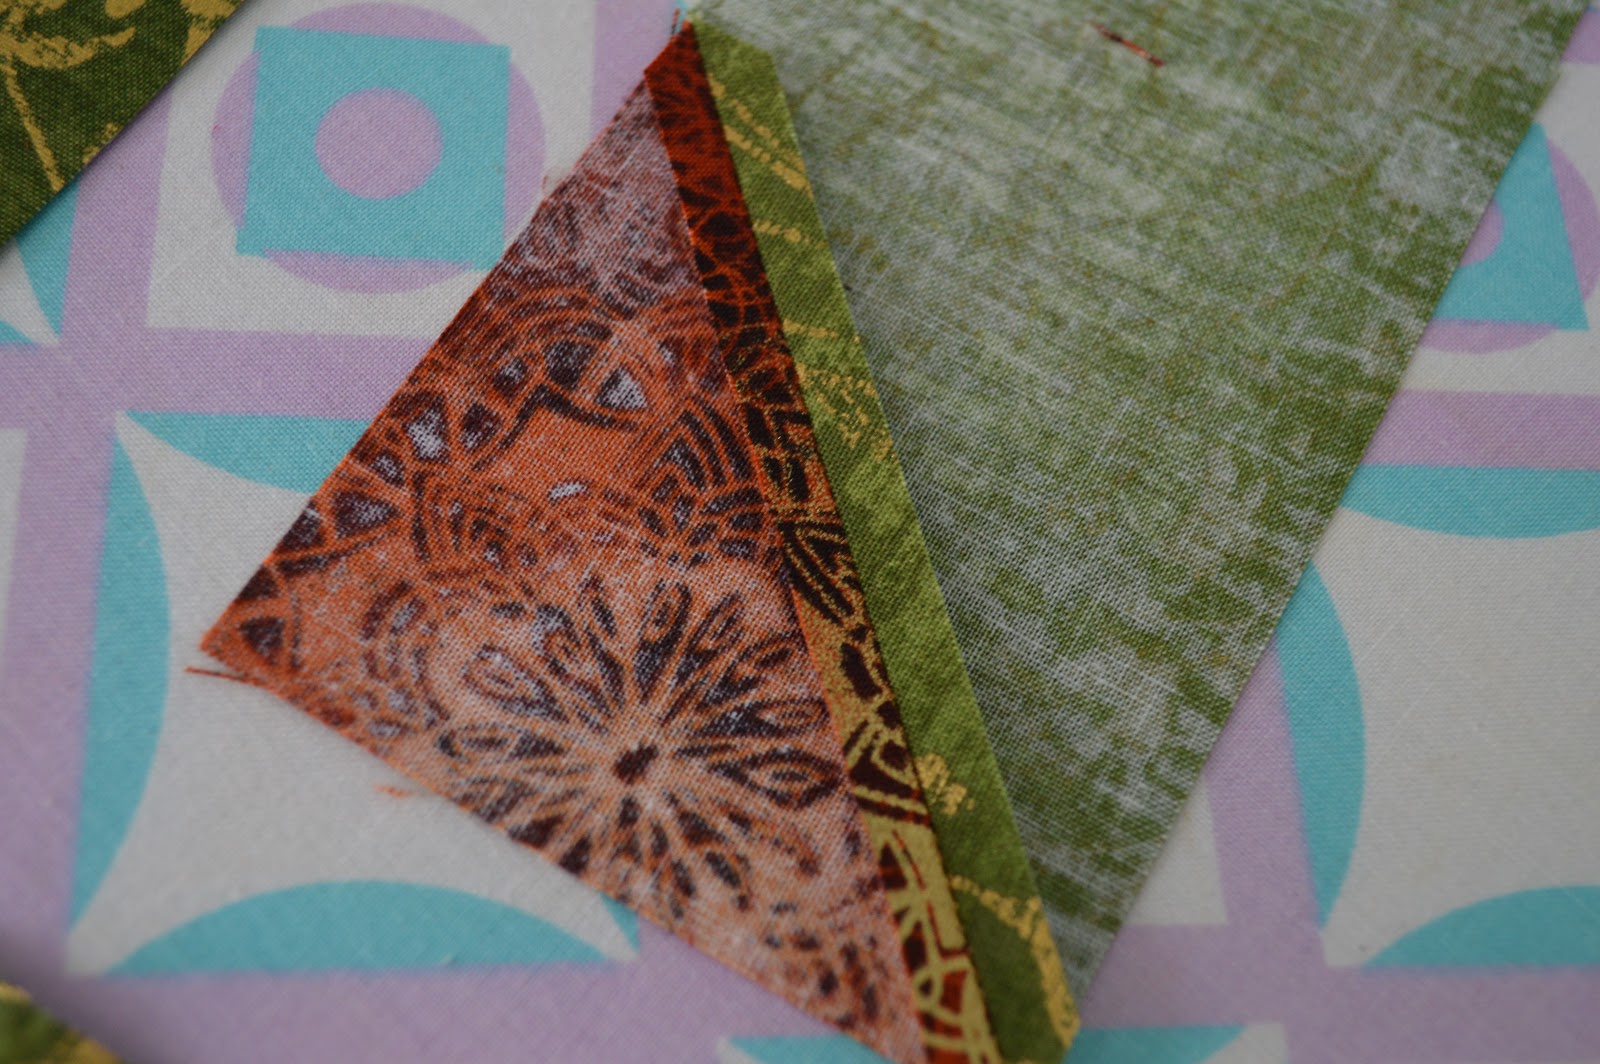
When it comes to cutting, trim a quarter inch from the stitched line, like the picture below.


Press your seams open.


Ooh la la! Love pressed seams!


When you lay your block out like below, it will appear that your seams will not match. After you stitch 2 rectangles together at a time, I promise they will. The 1/4 inch seam is where the compensation takes place. 
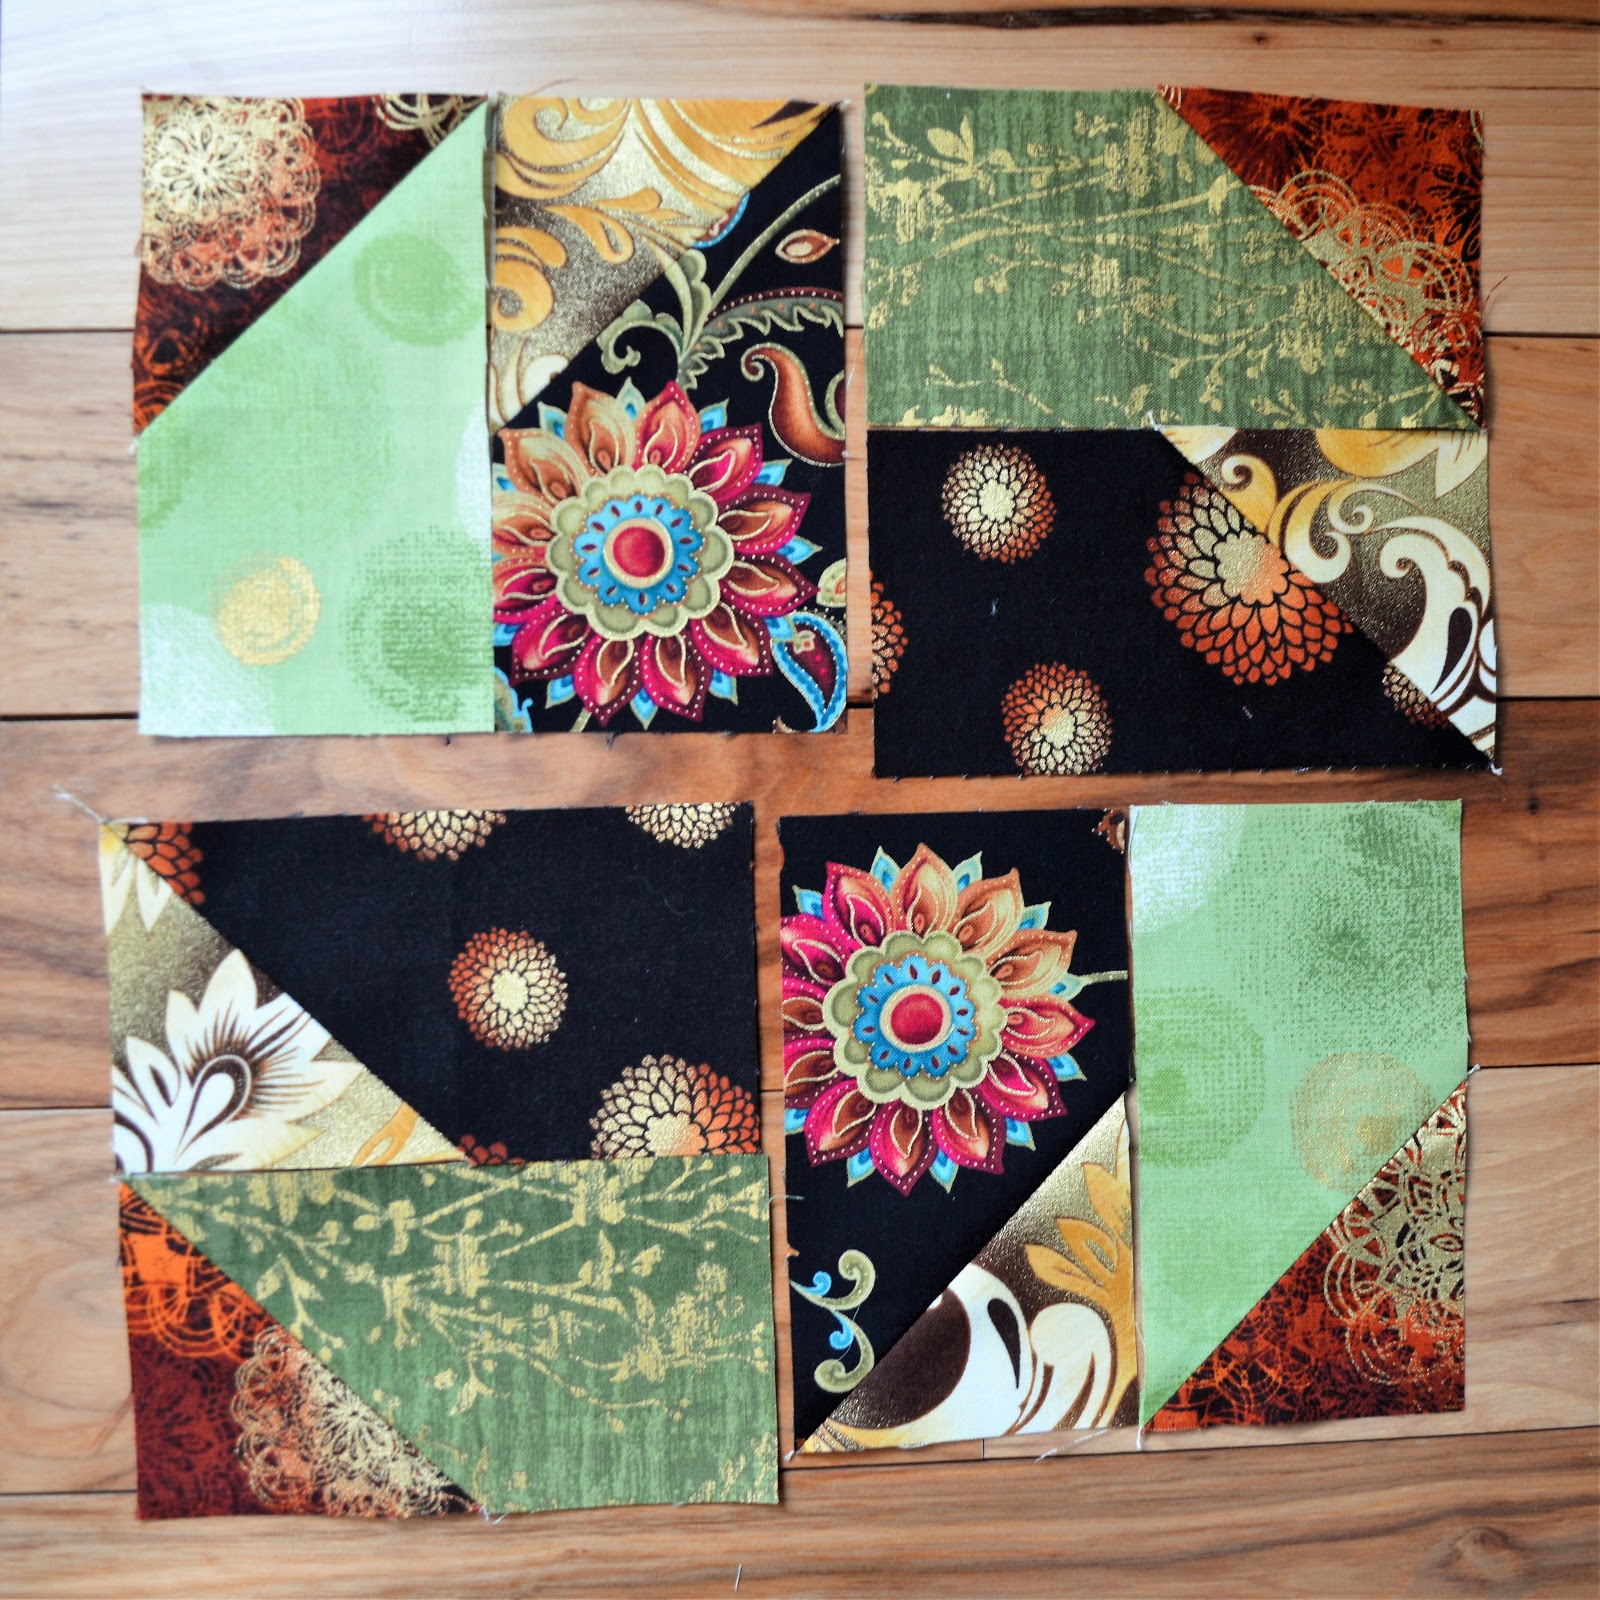


See! I told you!


Once your block is stitched, take a coordinating fabric, pulling from your 4 fabric choices and cut 6 - 8 inch squares.

Next, cut them on the diagonal. This will become your four corners, or in the picture below, the cream fabric.


In between your blocks, you can use strips to separate. I think a 3 1/2 inch width is a good size. However, you can make them as wide as 5-6 inches if you prefer. Either way, they will need to be cut the length of 14 1/2 inches, the finished block length. 

Once, your blocks and strips are set and sewn, cut an 11 inch block on the diagonal as well. These become the pointy ends of your table runner. That's it!

Could you believe how quick and simple this is?!?!

I love it, and because of that, I can't stop sewing these blocks!

Last but not least, I'd like to wish everyone a truly very Merry Christmas!
May you celebrate with your loved ones in good health and happiness!

See you all next year!

Comments

Popular posts from this blog

Crystal Knob Rack

So... what can you do with a piece of wood measuring 45 inches by 3 1/2? Well, if it's 1 inch thick, you can use it to make the cutest wall rack. But instead of using hooks, use drawer knobs!   Here's how the idea got started. I needed a place to photograph kids aprons. Now, most of you know that my girls have been modeling them, but they can't model toddler aprons, right? All I could picture was a gorgeous crystal knob rack used to display those mini aprons I love to make. And after searching in stores and online, I realized they are not very easy to find. Soo...... "oooohhh hubby.... can you drill a few holes in this piece of oak wood I found in the barn?"   Of course he did it in a heart beat & he even sanded it down too! The holes were positioned like this: I did the two outer ones first, then measured to the center in between those. And again, the middle of the center and outer one. Got it? I took some regular creamy white wall paint I had left

The Ogden Cami ~ A Review

Hello friends! I hope you all had a wonderful February and a great start to March! Spring is right around the corner and I'm counting down to daylight savings on March 10th! Hooray for longer sunshine! Lately, I've been longing to go back to stitching up clothes. And... I ended up finding the cutest pattern to get me back in the groove at Hawthorne Threads . The Ogden Cami by True Bias Patterns is perfect and quite simple! I started off by making a test run with some red, light-weight fabric, figuring if this comes out good, I'll have 2 tops! And guess what? It came out awesome! Making a practice piece was a great idea. It's always recommended and there are so many reasons why. In the instructional booklet, I wrote myself little notes.  ~ cut the fabric 1/4" larger at the sides so I can use a serger. This will allow me to have finished ends and still a good seam allowance.  ~ cut the straps 1/2" larger, so the

January.... you're almost done!

Hello friends!  I feel like it's been forever since my last post. I suppose some might even say I've been spending nearly all my time on the forefront of creative madness along with trying to continue healing. Holy smokes! Chemo and radiation will change a person forever. I'm continuing my healing journey, and staying hopeful that I'll remain in the 'clear' for a long time. It's odd, the way you feel, when everything you've gotten accustomed to: the running around, working day to day, rushing here and rushing there.... how quickly it changes when it's no longer a necessity. Yes, I am extremely thankful that my spouse supports and pushes for my healing time, omitting nurse life as it was, but like I told my girlfriend the other day, "how many craft projects can a girl possibly do?" ..... Well let me just tell you..... A LOT! Today's post will revisit some Instagram pics, (in case you don't follow along) with some of my most recent