The fabric, the quality, the colors.....
I couldn't wait to get my hands on the Etno Fabric Collection by Pat Bravo!!
One thing is for sure. These gorgeous prints needed to be center of attention and what better way than with City Stitches Follow the Leader Quilt! All you can focus on is the way the colors play and blend together.
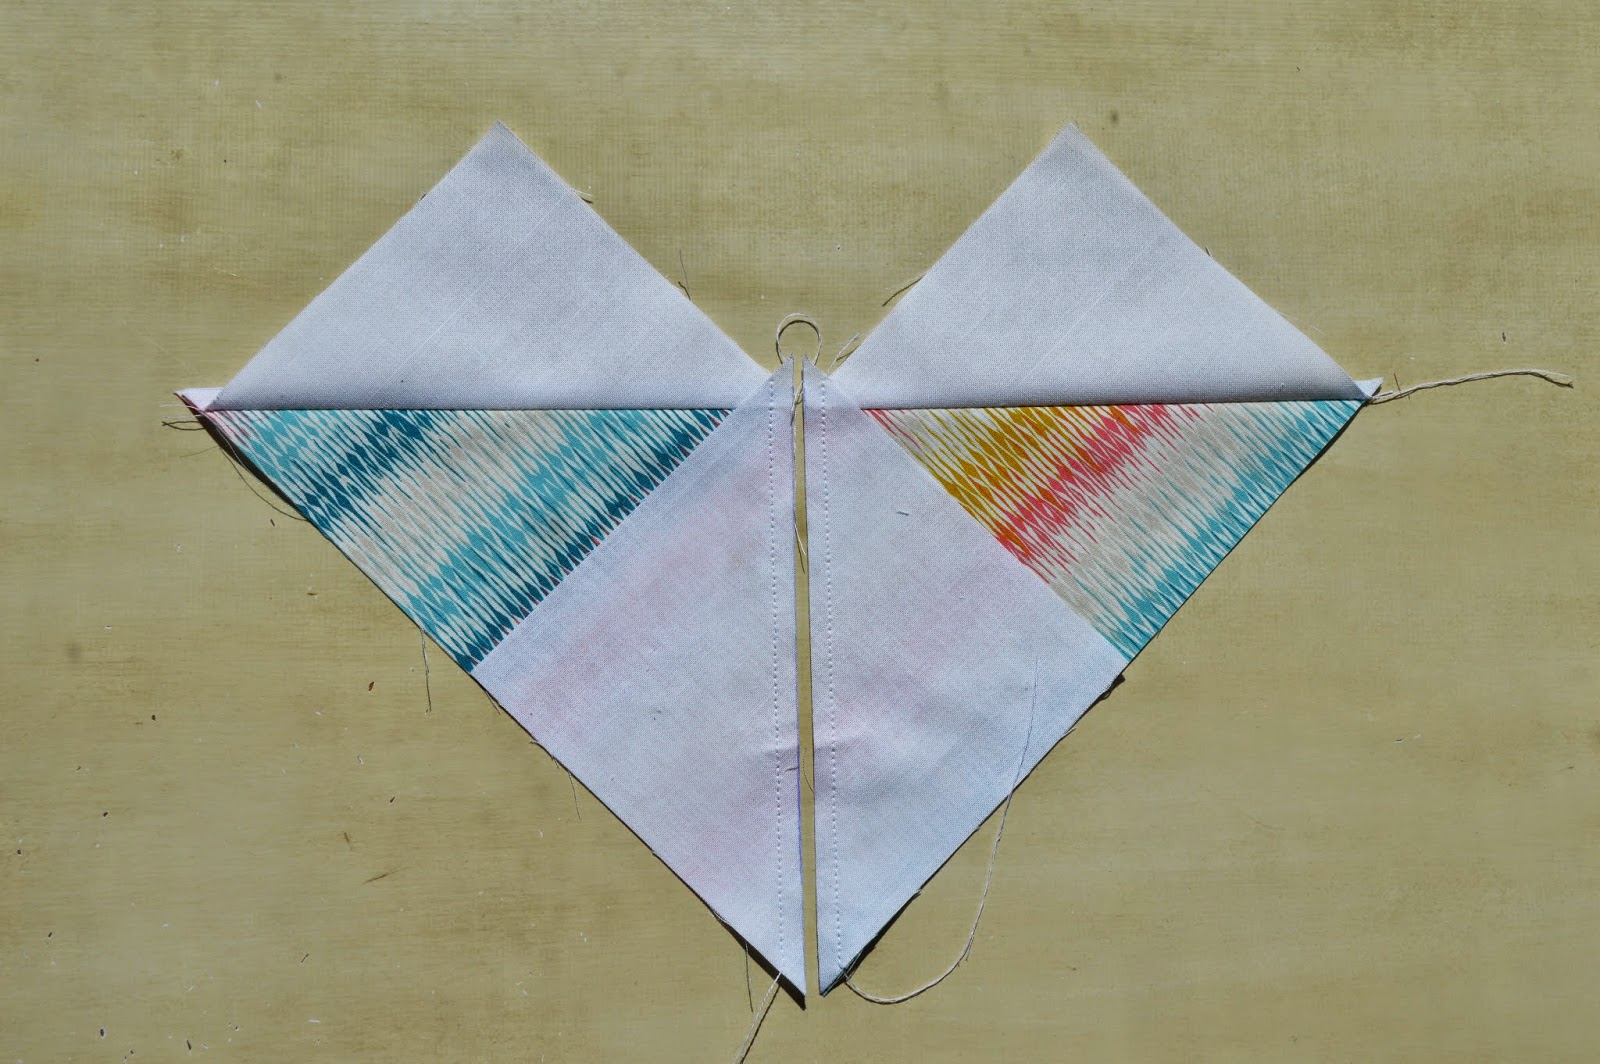
The flying geese were made using the "no waste method". The large square (main fabric) measured 9-1/4" by 9-1/4" while the four small (white) squares were 4-7/8" by 4-7/8". This left me with four flying geese per one fabric pattern that measured 4" by 8".
I love the way this piece came out so much!
The fourth row of flying geese from the no waste method were used on the piece below.
 |
| Front |
 |
| Back |
I wanted to jazz up the back so I connected fabrics varying in length, making sure that they were all 9" wide.
I added two blocks in Sauvage Sky North on the sides.
I used Sauvage Sky Artic for the binding.
And... I should mention I used Kona cotton for all the solids:)
The inspiration kept coming!
Here's the latest. A shattered chevron wall piece.
Fabrics used from the Etno Collection:
Contempo Pyramids Ebony
Shore Remains Trinkets
Drops of Pamplemousse
Dreams of Kandace
Stitched Anthomania Deep
The finished piece measures in at 28" by 28". It is a work of art I can't wait to hang on the wall!
I'm just up in the air about quilting technique. Should I use my sewing machine or head to the local quilt shop for their long arm?
I hope you all didn't start the Blog Tour today! Brandi from BNB Studio was simply fabulous with her design using the stunning collection! And make sure you check out Rochelle's divine ideas at Lucky Lucille tomorrow!
~Here's the scoop on where you can find all the other loves~
April 3rd ~ Teri at Fa Sew La
April 4th ~ Lisa at The Quilt Jam
April 5th ~ Hilary at Young Texan Mama
April 6th ~ Sharon at Color Girl Quilts
April 7th ~ Marija at Marija's Fabric Creations
April 8th ~ Nancy at Owens Olivia
April 9th ~ Becky at Sewin 4 Him
April 10th ~ Erin at Poppy Quinn
April 11th ~ Kathryn at Up*It*Is*Quilts
April 12th ~ Lori at Lori Hartman Designs
April 13th ~ Abbey at Sew Charleston
April 14th ~ Aida at Aika Maku
April 15th ~ Debbie at A Quilter's Table
April 16th ~ Lara at Scrap Quilt Preach
April 17th~ Isabel at Lamb & Wolfie
April 18th ~ Kylie at Faith Love Fabric
Happy Trails to sharing the good!


I am so with you - this Etno fabrics are so gorgeous, I can't stop having ideas and doodling things to make!! LOVE all three of your pieces of art and photos are amazing too! Flying Geese are my one of my favorites but I am going with something different this time...at least for the first project, he he... Really excited to be a part of this blog tour and even more so - to make new friends on the web through it! So glad I found your blog!
ReplyDeleteThank you Marija! This is a huge compliment coming from an artist who makes amazing quilts! Your work is beautiful!! I'm so glad I was chosen to be part of such an amazing group of gals!!
DeleteThe Etno fabrics are beautiful and I love the creative ways you used them. The flying geese quilt if fabulous.
ReplyDeleteThank you Sherry! I had a blast making these projects!!
DeleteYour flying geese quilt is fantastic. I love what you did on the back too.
ReplyDeleteThank you Vicki! I love the way the back came out as well! It was a fun quick sew:)
DeleteGreat quilt! Love the tour so far!
ReplyDeleteThanks Janet! I'm so excited to see more projects!!
DeleteWow. You sure maximized use of your fabrics! Beautiful projects!
ReplyDeleteThank you Debbie:) The ideas kept coming! Next on my list ~ to order Stitched Anthomania Deep for a knit dress I'd like to make. Beautiful fabrics sure do inspire:)
DeleteI love those flying geese! And the pictures are just stunning! Beautiful Miki ☺
ReplyDeleteThank you Pat Bravo!! I'm just so thrilled I got the chance to be part of this splendid Etno Blog Tour:)
DeleteGorgeous! You definitely made beautiful projects with that lovely fabric line!!
ReplyDeleteThank you so much Joy! I loved creating each one!
DeleteAwesome! The projects are beautiful, and the pics are fantastic!
ReplyDeleteThank you Lisa! I'm really ecstatic about the way the pics turned out as well. Sunny days mean so much after a long winter:)
DeleteGreat use of the fabrics! Love it all!
ReplyDeleteThanks Anita! There are so many more ideas I would still like to try:)
Deletethat is stunning! in love with those flying geese quilts. And these fabrics are gorgeous, I would like to sew some projects with them too ;) COngratulations
ReplyDeleteThank you Alex! All of Pat Bravo's collections are beautiful! And Art Gallery fabrics feel amazing!!
Delete