Creative Christmas ....diy ornaments

This time of year, I love to show my girls how you can make Christmas ornaments from almost anything.
For example take the following two projects! The first is a twig & birds nest which requires a couple sticks, glue, glitter, wire and beads.


(If you're going to do this project with little ones, replace the wire with twine.)
 Start by creating a small bundle of equally sized twigs. Wrap them with wire (or twine) to secure them together.


Grab the glue and start applying a thin coat to the stick ends. You really won't want to get glue in the center for a couple reasons. The glue won't adhere to the wire and if you use it one twine, you risk having it loosen from being wet. (Unless you want to make this into a two day project & have it dry overnight.)


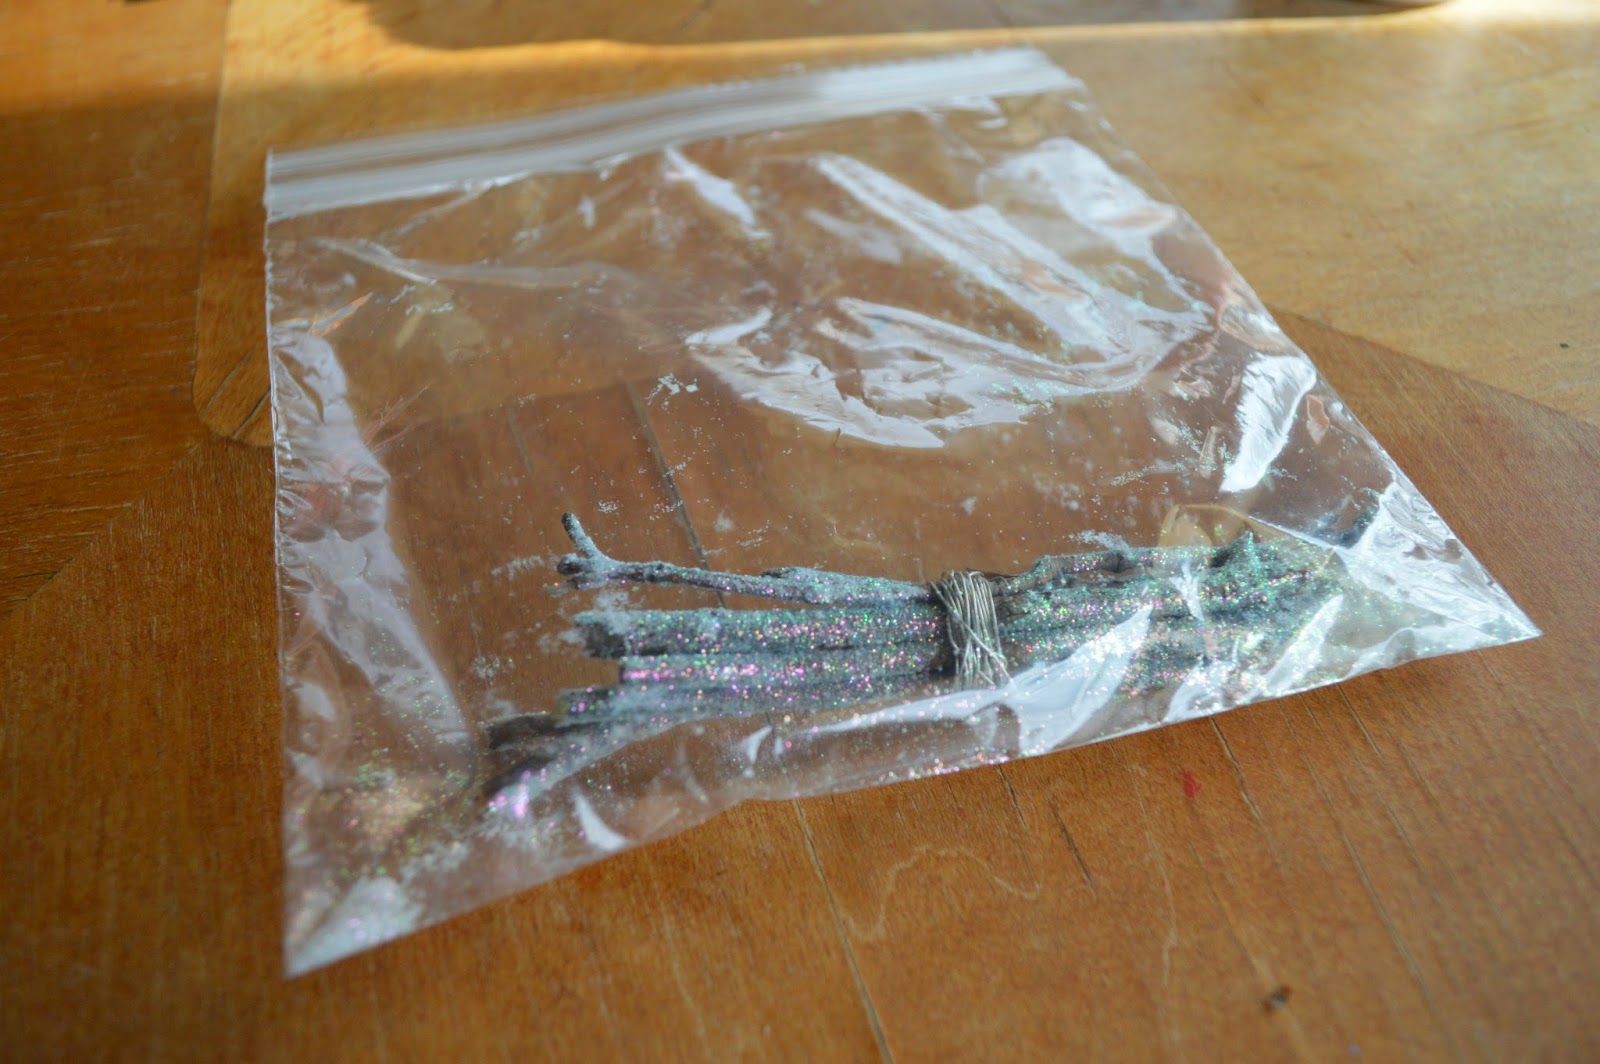
Stick the glitter in a small Ziploc bag an throw the bundle of twigs inside. 
Give it a shake.


 Next you'll want to make the bird's nest.
I make these by threading the beads, or 'eggs', on the end of a wire & then continue by wrapping one string around them in a circular pattern. Towards the end, when my desired size/shape comes to be, I start to wire in opposing directions to secure it. There's a great YouTube video here in case you're looking for a more natural shaped nest.

Once complete, take the nest and hot glue it onto the glitter frosted branches.
That's it! You got yourself one more pretty ornament to add to the tree:)


Project #2 The glittered wooden spool.
All you need are a couple different sized beads, wire, one spool, glue and glitter.


Start by threading the smallest of the beads to the center of a 10 inch piece of wire.
Fold it in half & re-thread both pieces through a bigger bead.
Thread the beads through the center of the spool and add another one. The beads closest to the spool should be large enough to cover the hole.

Looking at this now, I totally could've made this into a butterfly or some type of bug
just by adding silk flower petals to one side for wings! Somebody better run
with that idea;)


Spread the two wires and add smaller beads on each end.
When complete, wrap the ends around each other and carefully tuck them into the opposing bead holes.


Add some glitter! Paint the spool with a thin coat of glue and drop it into that bag of glitter!


That's it! Isn't that just adorable?
Two creative projects to try when you're feeling crafty!
Happy Trails till next time!


Comments

Popular posts from this blog

What is musmula?

Look at these beauties. Finally, I find an answer to this question! The translation for the Turkish, Mediterranean fruit called 'musmula' is 'medlar'.  This exotic fruit that's a cross between a pear and a hawthorn is very unique and tasty. I owe great thanks to my grandfather for grafting this beauty in my yard. Sadly, I don't have any recipes regarding the medlar. But I have read that it is great for making preserves and jelly's. This is a tasty fall fruit that can only ripen after the first frost. I should really move them to a dry shelf until the pulp softens. Then, they're the best!

The Ogden Cami ~ A Review

Hello friends! I hope you all had a wonderful February and a great start to March! Spring is right around the corner and I'm counting down to daylight savings on March 10th! Hooray for longer sunshine! Lately, I've been longing to go back to stitching up clothes. And... I ended up finding the cutest pattern to get me back in the groove at Hawthorne Threads . The Ogden Cami by True Bias Patterns is perfect and quite simple! I started off by making a test run with some red, light-weight fabric, figuring if this comes out good, I'll have 2 tops! And guess what? It came out awesome! Making a practice piece was a great idea. It's always recommended and there are so many reasons why. In the instructional booklet, I wrote myself little notes.  ~ cut the fabric 1/4" larger at the sides so I can use a serger. This will allow me to have finished ends and still a good seam allowance.  ~ cut the straps 1/2" larger, so the ...

Flying Geese ~ Etno Style

The fabric, the quality, the colors..... I couldn't wait to get my hands on the Etno Fabric Collection  by Pat Bravo!! The colors & shapes are always so inspiring. And as I was working on this project, new ideas were getting sparked. (So..... you're going to be checking out two more pieces I've been working on.) One thing is for sure. These gorgeous prints needed to be center of attention and what better way than with City Stitches Follow the Leader Quilt! All you can focus on is the way the colors play and blend together. The flying geese were made using the "no waste method". The large square (main fabric) measured 9-1/4" by 9-1/4" while the four small (white) squares were 4-7/8" by 4-7/8". This left me with four flying geese per one fabric pattern that measured 4" by 8".   I love the way this piece came out so much!  The fourth row of flying geese from the no waste method we...