
April


Hello friends! It's so hard to believe that it's been nearly 2 months since the last time I visited this tiny space on the internet. I suppose it's been well worth the wait, since I have something super special to share. 
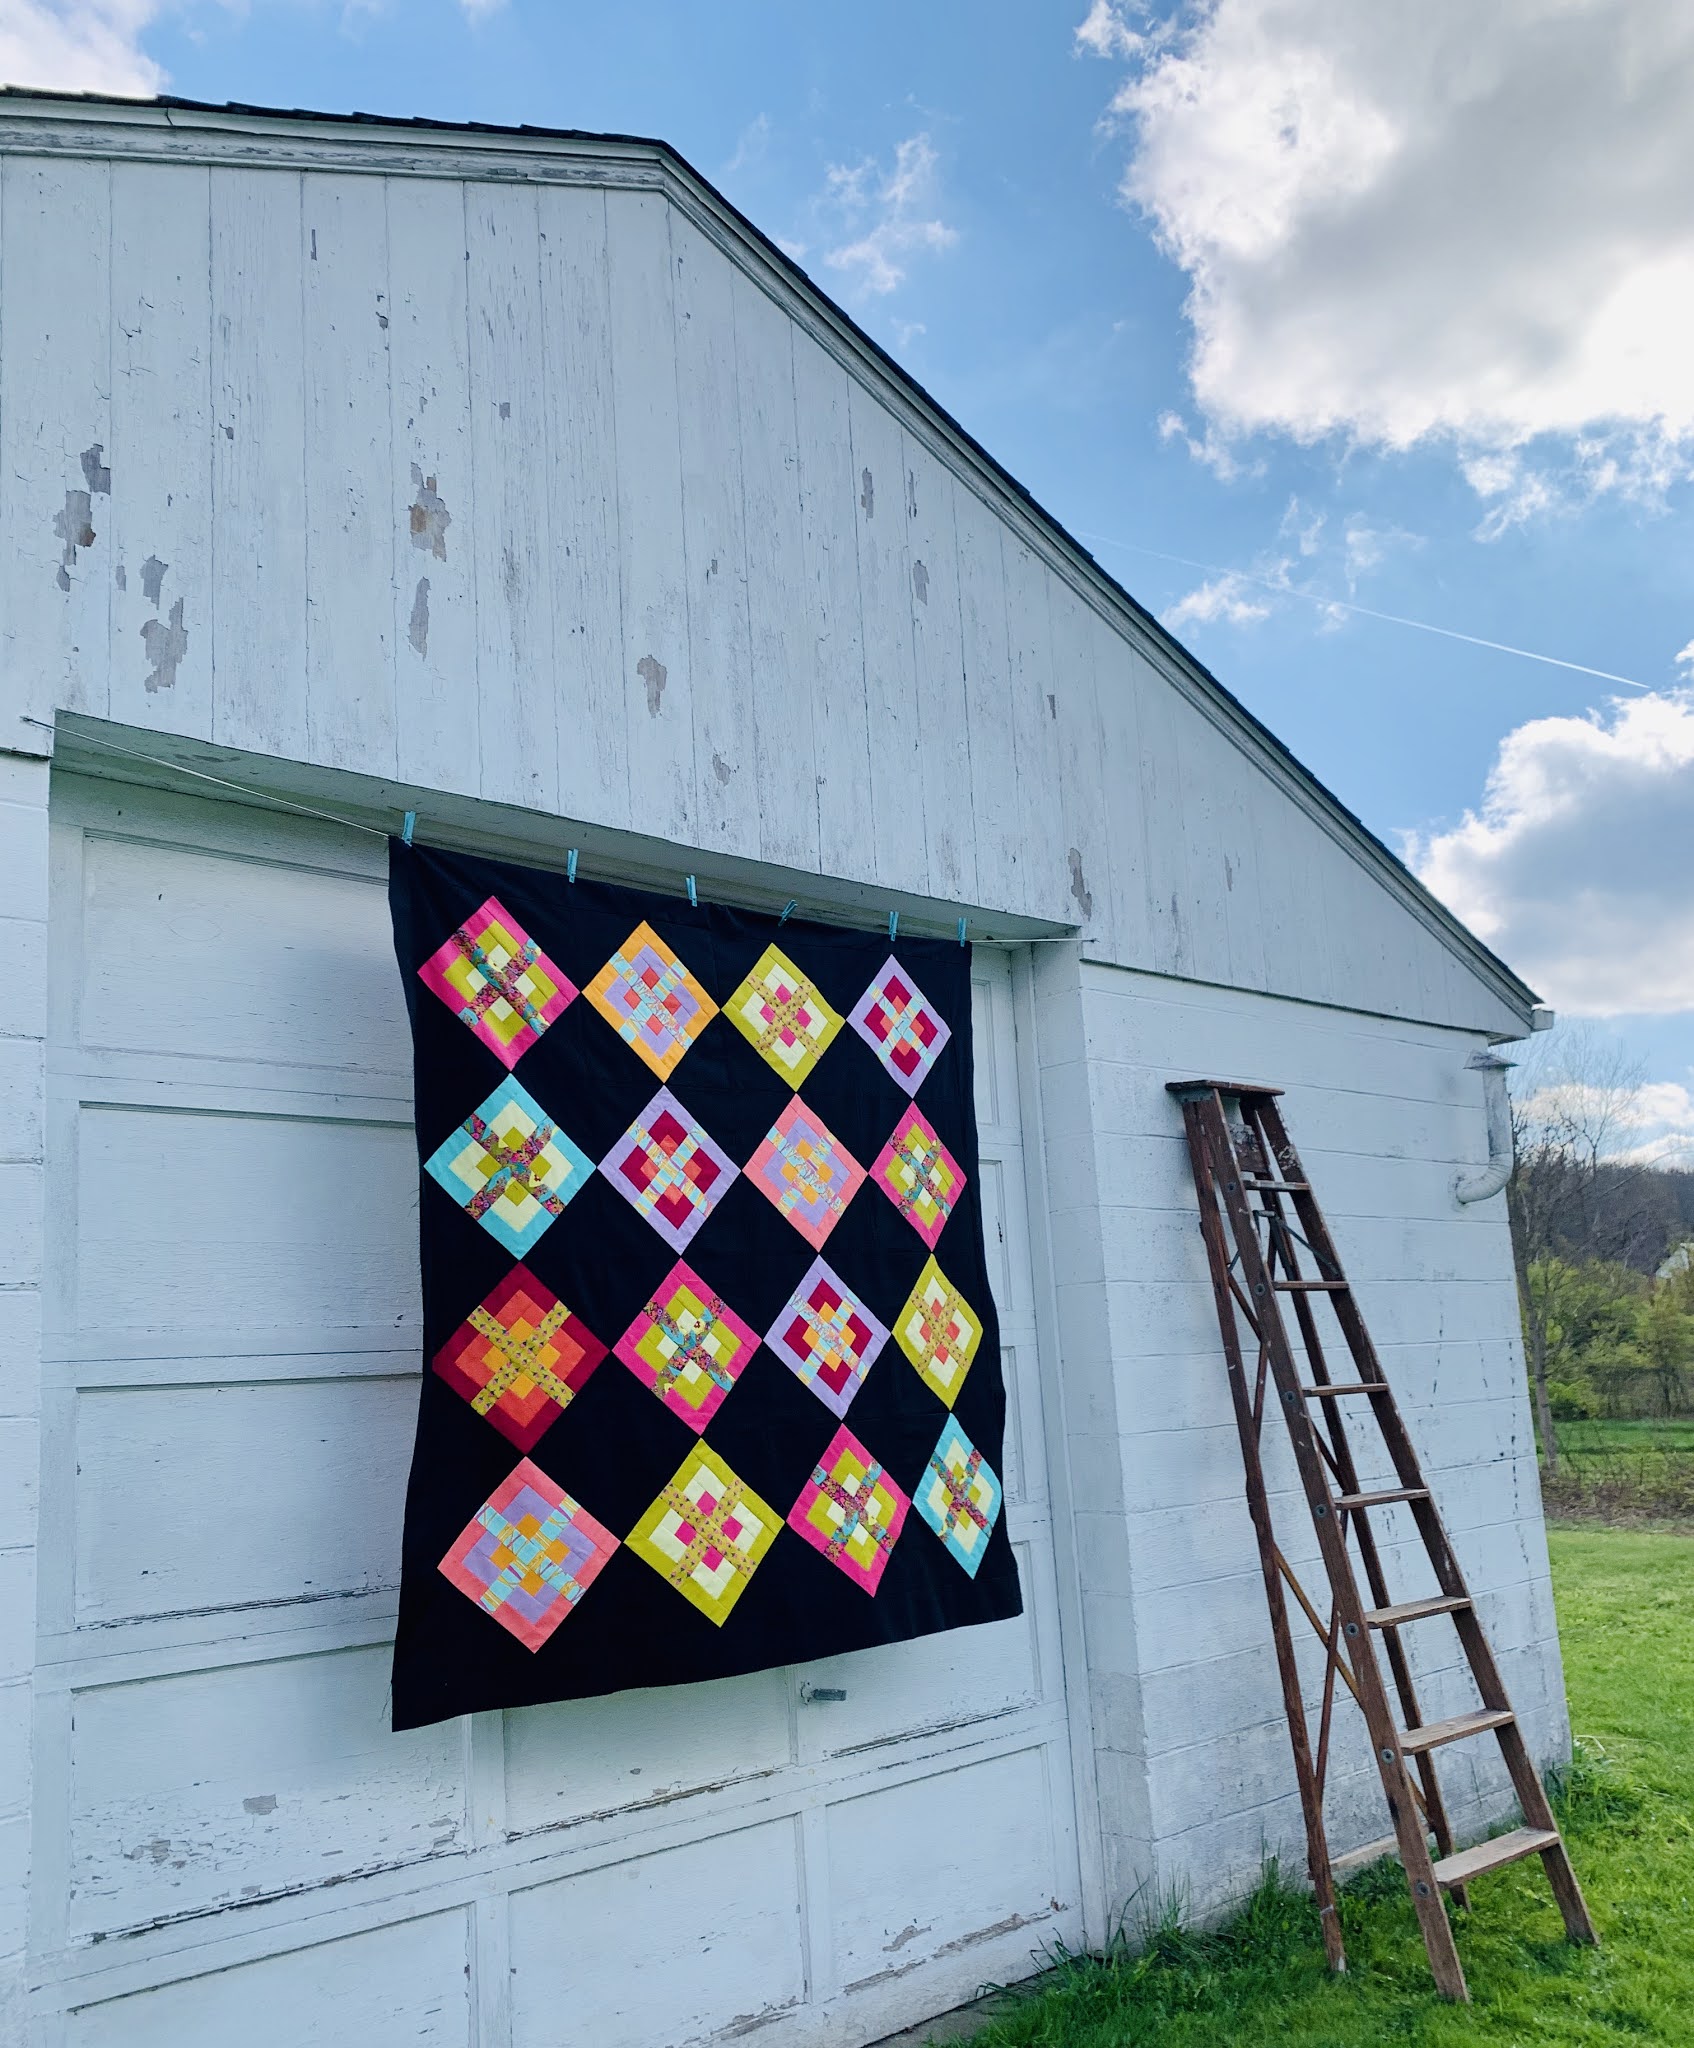
Take a look at this vibrant quilt top!


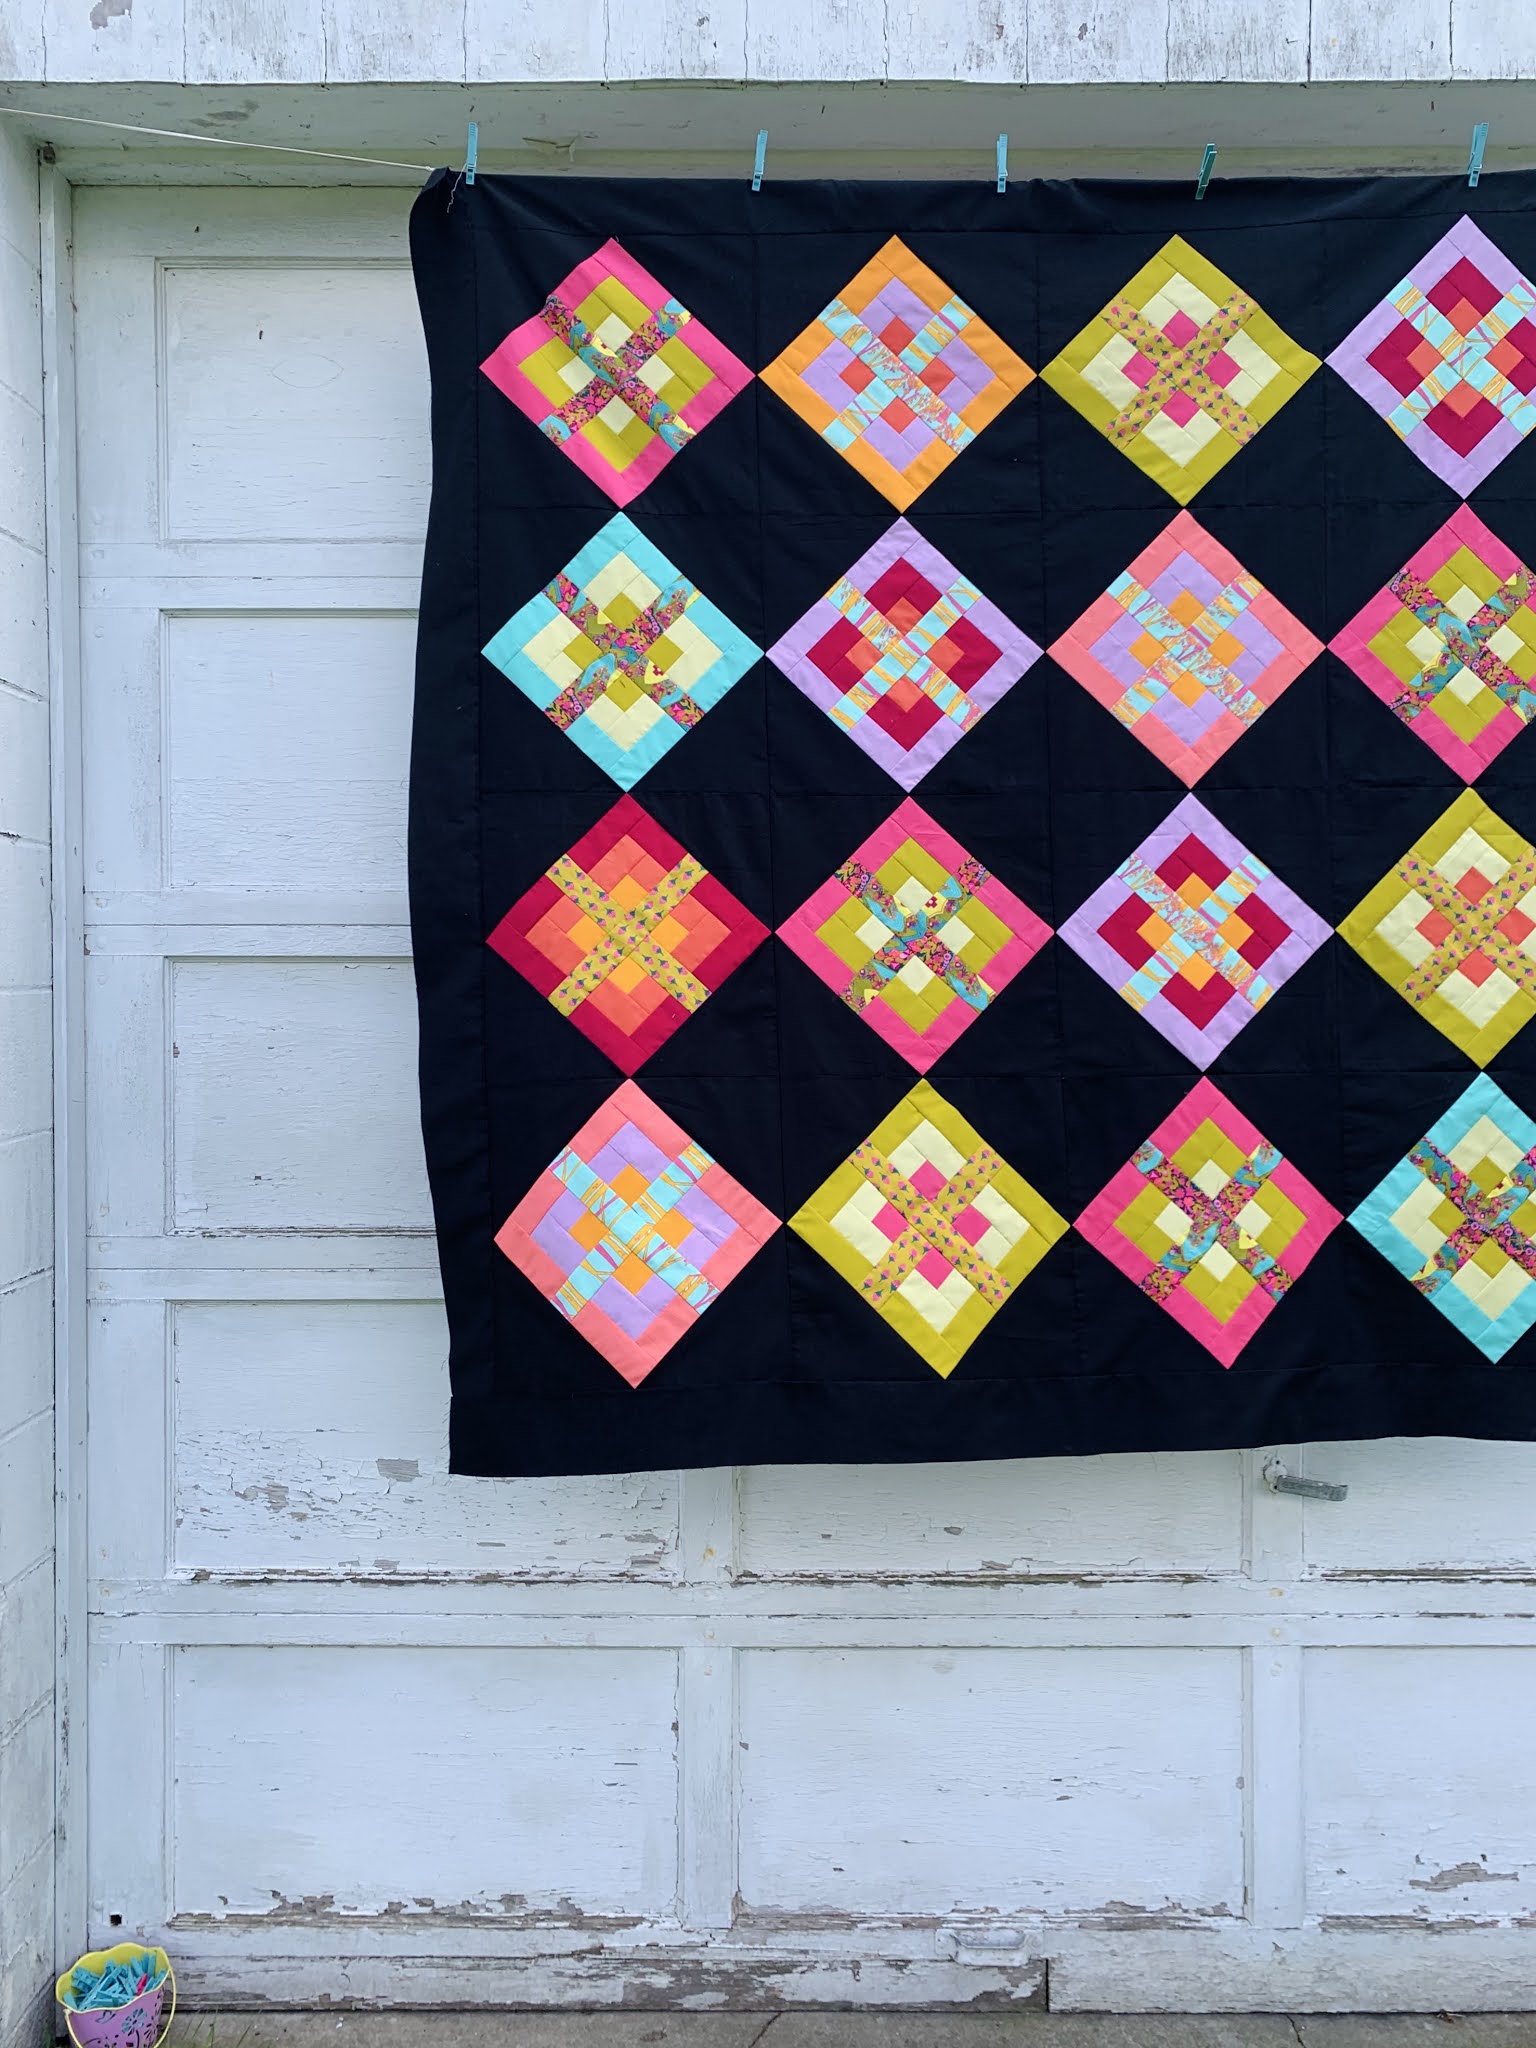
You wanna see how easy the blocks are to make?!


Start off with 4 ~ 2" x 2" squares 


Combine the squares with 4 more 2" x 2" squares of another color (1/4" seams throughout)


Press seams open.


Add four 2" x 3 1/2" rectangles to the sides of the sets as shown below.

From this point on, press seams to one side.


Picking a third color (shown as vibrant pink), sew 2" x 3 1/2" rectangles to the blocks.


Then add 2" x 5" rectangles to the sides as shown in the picture below.


Connect the top to the bottom by sewing a fourth fabric choice.
You will need 2 rectangles measuring 2" x 5" each.


Once they are sewn, combine them together by stitching a 2" x 11" strip inbetween.


Next, cut two 8 1/2" squares (fabric choice #5)  on a diagonal. 


Attach the triangles, widest side, to the left and right of your block


Make sure to overlap the triangle points on either side as the picture shows below.


Press and repeat the process on the top and bottom.


Press and trim your block to 15 1/4". You're complete!


This quilt block is scrap friendly & the best part... it looks like applique without all the extra work!
I absolutely adore this one to pieces! There's just something about vibrant colors on a black backdrop that get me every time!


Happy trails to sewing in Spring!


Comments

Popular posts from this blog

Evergreen Trees

Hello friends and fellow bloggers! I hope the start of 2021 has been full of good health, happiness, and love. Over here, I've been been busy enjoying the creative process, trying new things and attempting new horizons every which way possible. It truly feels like a good way to start the year. I wanted to share with you this adorable Evergreen Tree quilt.  I've never done foundation paper piecing prior to this project, but can honestly say I'm hooked! This free printable pattern was found on Pinterest and was perrrrfect for a beginner like myself. Not to mention, it helped me use up nearly all my green scraps:) If you are new to FPP too, you'll want to make sure the first pattern you try is numbered.  This will help you understand how the blocks should be created from start to finish. Every quilt is a one of a kind, but I have to admit, this takes it a step further. Also recommended, watching a few youtube videos. I'm a visual learner, and watching the videos reall...

January.... you're almost done!

Hello friends!  I feel like it's been forever since my last post. I suppose some might even say I've been spending nearly all my time on the forefront of creative madness along with trying to continue healing. Holy smokes! Chemo and radiation will change a person forever. I'm continuing my healing journey, and staying hopeful that I'll remain in the 'clear' for a long time. It's odd, the way you feel, when everything you've gotten accustomed to: the running around, working day to day, rushing here and rushing there.... how quickly it changes when it's no longer a necessity. Yes, I am extremely thankful that my spouse supports and pushes for my healing time, omitting nurse life as it was, but like I told my girlfriend the other day, "how many craft projects can a girl possibly do?" ..... Well let me just tell you..... A LOT! Today's post will revisit some Instagram pics, (in case you don't follow along) with some of my most recent...

The Ogden Cami ~ A Review

Hello friends! I hope you all had a wonderful February and a great start to March! Spring is right around the corner and I'm counting down to daylight savings on March 10th! Hooray for longer sunshine! Lately, I've been longing to go back to stitching up clothes. And... I ended up finding the cutest pattern to get me back in the groove at Hawthorne Threads . The Ogden Cami by True Bias Patterns is perfect and quite simple! I started off by making a test run with some red, light-weight fabric, figuring if this comes out good, I'll have 2 tops! And guess what? It came out awesome! Making a practice piece was a great idea. It's always recommended and there are so many reasons why. In the instructional booklet, I wrote myself little notes.  ~ cut the fabric 1/4" larger at the sides so I can use a serger. This will allow me to have finished ends and still a good seam allowance.  ~ cut the straps 1/2" larger, so the ...