Guess what?......Yahoo, my store is up on Etsy! Yay, yay, and more yay's:) This was a must post before 2011 turns into 2012.   The last month has been really hectic, but I gotta hunch....I'm going to have some mellow-me and crafting time very soon. The shop name follows my blog, The Mint Needle -with a label - Lucy Loves Me. (Thanks to a dear friend who inspired me to use our cat Lucy in the label.)  I originally joined Etsy in 2010, but didn't start selling till the end of November - e.g. not too many blogs for the month of December. Ideas are all about, but the time, unfortunately is not. I have alot of projects going on right now and will be adding more items as time proceeds. I hope you stop in and take a look at some of the fun things I've done so far.

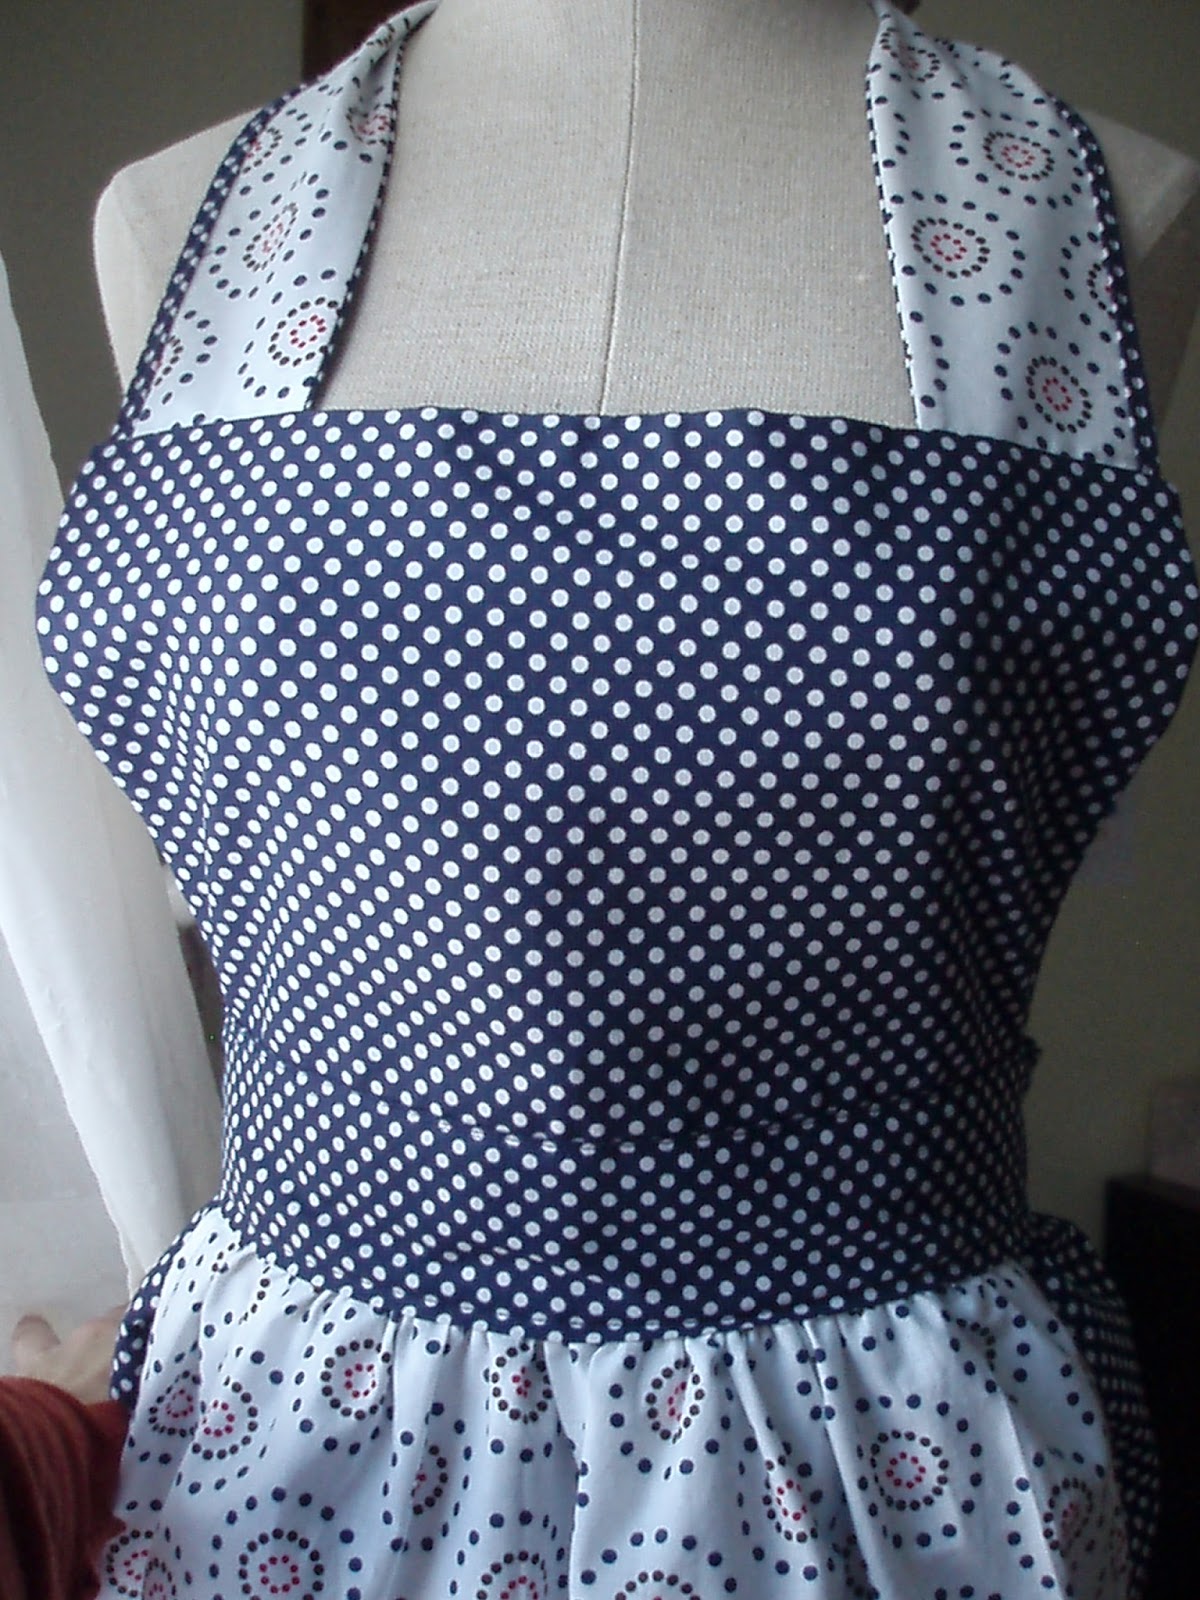
The pics posted today are of an apron that completely reminds me of the movie "Chitty Chitty Bang Bang", and for that reason am having a hard time parting with it. The dress is the product of  internet tutorials and two hours of free time with fun fabric and daydreaming of spring. I gotta say.... most blogs focus on the time of year, this post assures you - spring is on the way.


I'm wishing everyone a happy end to 2011 and a positive, enlightened, energized, loved, full of health, happiness, & laugh till your belly hurts 2012.

Comments

Popular posts from this blog

Evergreen Trees

Hello friends and fellow bloggers! I hope the start of 2021 has been full of good health, happiness, and love. Over here, I've been been busy enjoying the creative process, trying new things and attempting new horizons every which way possible. It truly feels like a good way to start the year. I wanted to share with you this adorable Evergreen Tree quilt.  I've never done foundation paper piecing prior to this project, but can honestly say I'm hooked! This free printable pattern was found on Pinterest and was perrrrfect for a beginner like myself. Not to mention, it helped me use up nearly all my green scraps:) If you are new to FPP too, you'll want to make sure the first pattern you try is numbered.  This will help you understand how the blocks should be created from start to finish. Every quilt is a one of a kind, but I have to admit, this takes it a step further. Also recommended, watching a few youtube videos. I'm a visual learner, and watching the videos reall...

January.... you're almost done!

Hello friends!  I feel like it's been forever since my last post. I suppose some might even say I've been spending nearly all my time on the forefront of creative madness along with trying to continue healing. Holy smokes! Chemo and radiation will change a person forever. I'm continuing my healing journey, and staying hopeful that I'll remain in the 'clear' for a long time. It's odd, the way you feel, when everything you've gotten accustomed to: the running around, working day to day, rushing here and rushing there.... how quickly it changes when it's no longer a necessity. Yes, I am extremely thankful that my spouse supports and pushes for my healing time, omitting nurse life as it was, but like I told my girlfriend the other day, "how many craft projects can a girl possibly do?" ..... Well let me just tell you..... A LOT! Today's post will revisit some Instagram pics, (in case you don't follow along) with some of my most recent...

The Ogden Cami ~ A Review

Hello friends! I hope you all had a wonderful February and a great start to March! Spring is right around the corner and I'm counting down to daylight savings on March 10th! Hooray for longer sunshine! Lately, I've been longing to go back to stitching up clothes. And... I ended up finding the cutest pattern to get me back in the groove at Hawthorne Threads . The Ogden Cami by True Bias Patterns is perfect and quite simple! I started off by making a test run with some red, light-weight fabric, figuring if this comes out good, I'll have 2 tops! And guess what? It came out awesome! Making a practice piece was a great idea. It's always recommended and there are so many reasons why. In the instructional booklet, I wrote myself little notes.  ~ cut the fabric 1/4" larger at the sides so I can use a serger. This will allow me to have finished ends and still a good seam allowance.  ~ cut the straps 1/2" larger, so the ...